How to record your screen on a Mac, with audio
The built-in tools can capture your screen but not your Mac's audio, and they stop at a raw file. Here's how to record, polish and export in one browser tab.
macOS ships two ways to record your screen: the screenshot toolbar (⇧⌘5) and QuickTime Player. Both capture pixels well, and both leave you with a flat .mov file, no way to record your Mac's own audio, and nothing to make the recording easier to watch.
This guide uses Flicka, a screen recorder that runs in a browser tab. You record, then land in an editor that has already added zooms, a backdrop and cursor effects, and you export an MP4, WebM or GIF. Nothing is uploaded: the capture, editing and encoding all happen on your Mac.
What you need before you start
- A Chromium browser. Chrome, Edge, Arc or Brave give you every capture option, including tab audio and hardware MP4 encoding.
- Screen recording permission for that browser. macOS asks the first time a site wants to share your screen. If you dismissed it, open System Settings → Privacy & Security → Screen & System Audio Recording (called Screen Recording on older macOS), turn the browser on, and relaunch it.
- Microphone and camera permission if you want your voice or face. The browser asks when you turn those on.
Step 1: Choose what to record
Open the studio. The record card at the top of the library is where every take starts.

- Pick a surfaceFull screen records everything you see, Window follows one app, and Browser tab gives the crispest result for web demos.
- Or grab a stillScreenshot captures one frame and opens it in the annotator.
- System audioRecords the sound from what you share. Tab audio works everywhere; whole-screen audio depends on your macOS and browser version.
- MicrophoneYour voice, mixed with system audio into one track you can rebalance later.
- WebcamRecords your camera to its own track so the bubble stays editable. See adding a webcam overlay.
- Auto-zoomTurns clicks into zooms when the take opens in the editor.
- RecordStarts the capture. The shortcut is R from anywhere in the library.
The source you pick decides what the browser's share dialog offers next. On a Mac, Browser tab is usually the best choice for product demos: the result is sharp at any size and you can include that tab's audio with one checkbox.
Step 2: Share your screen and count down
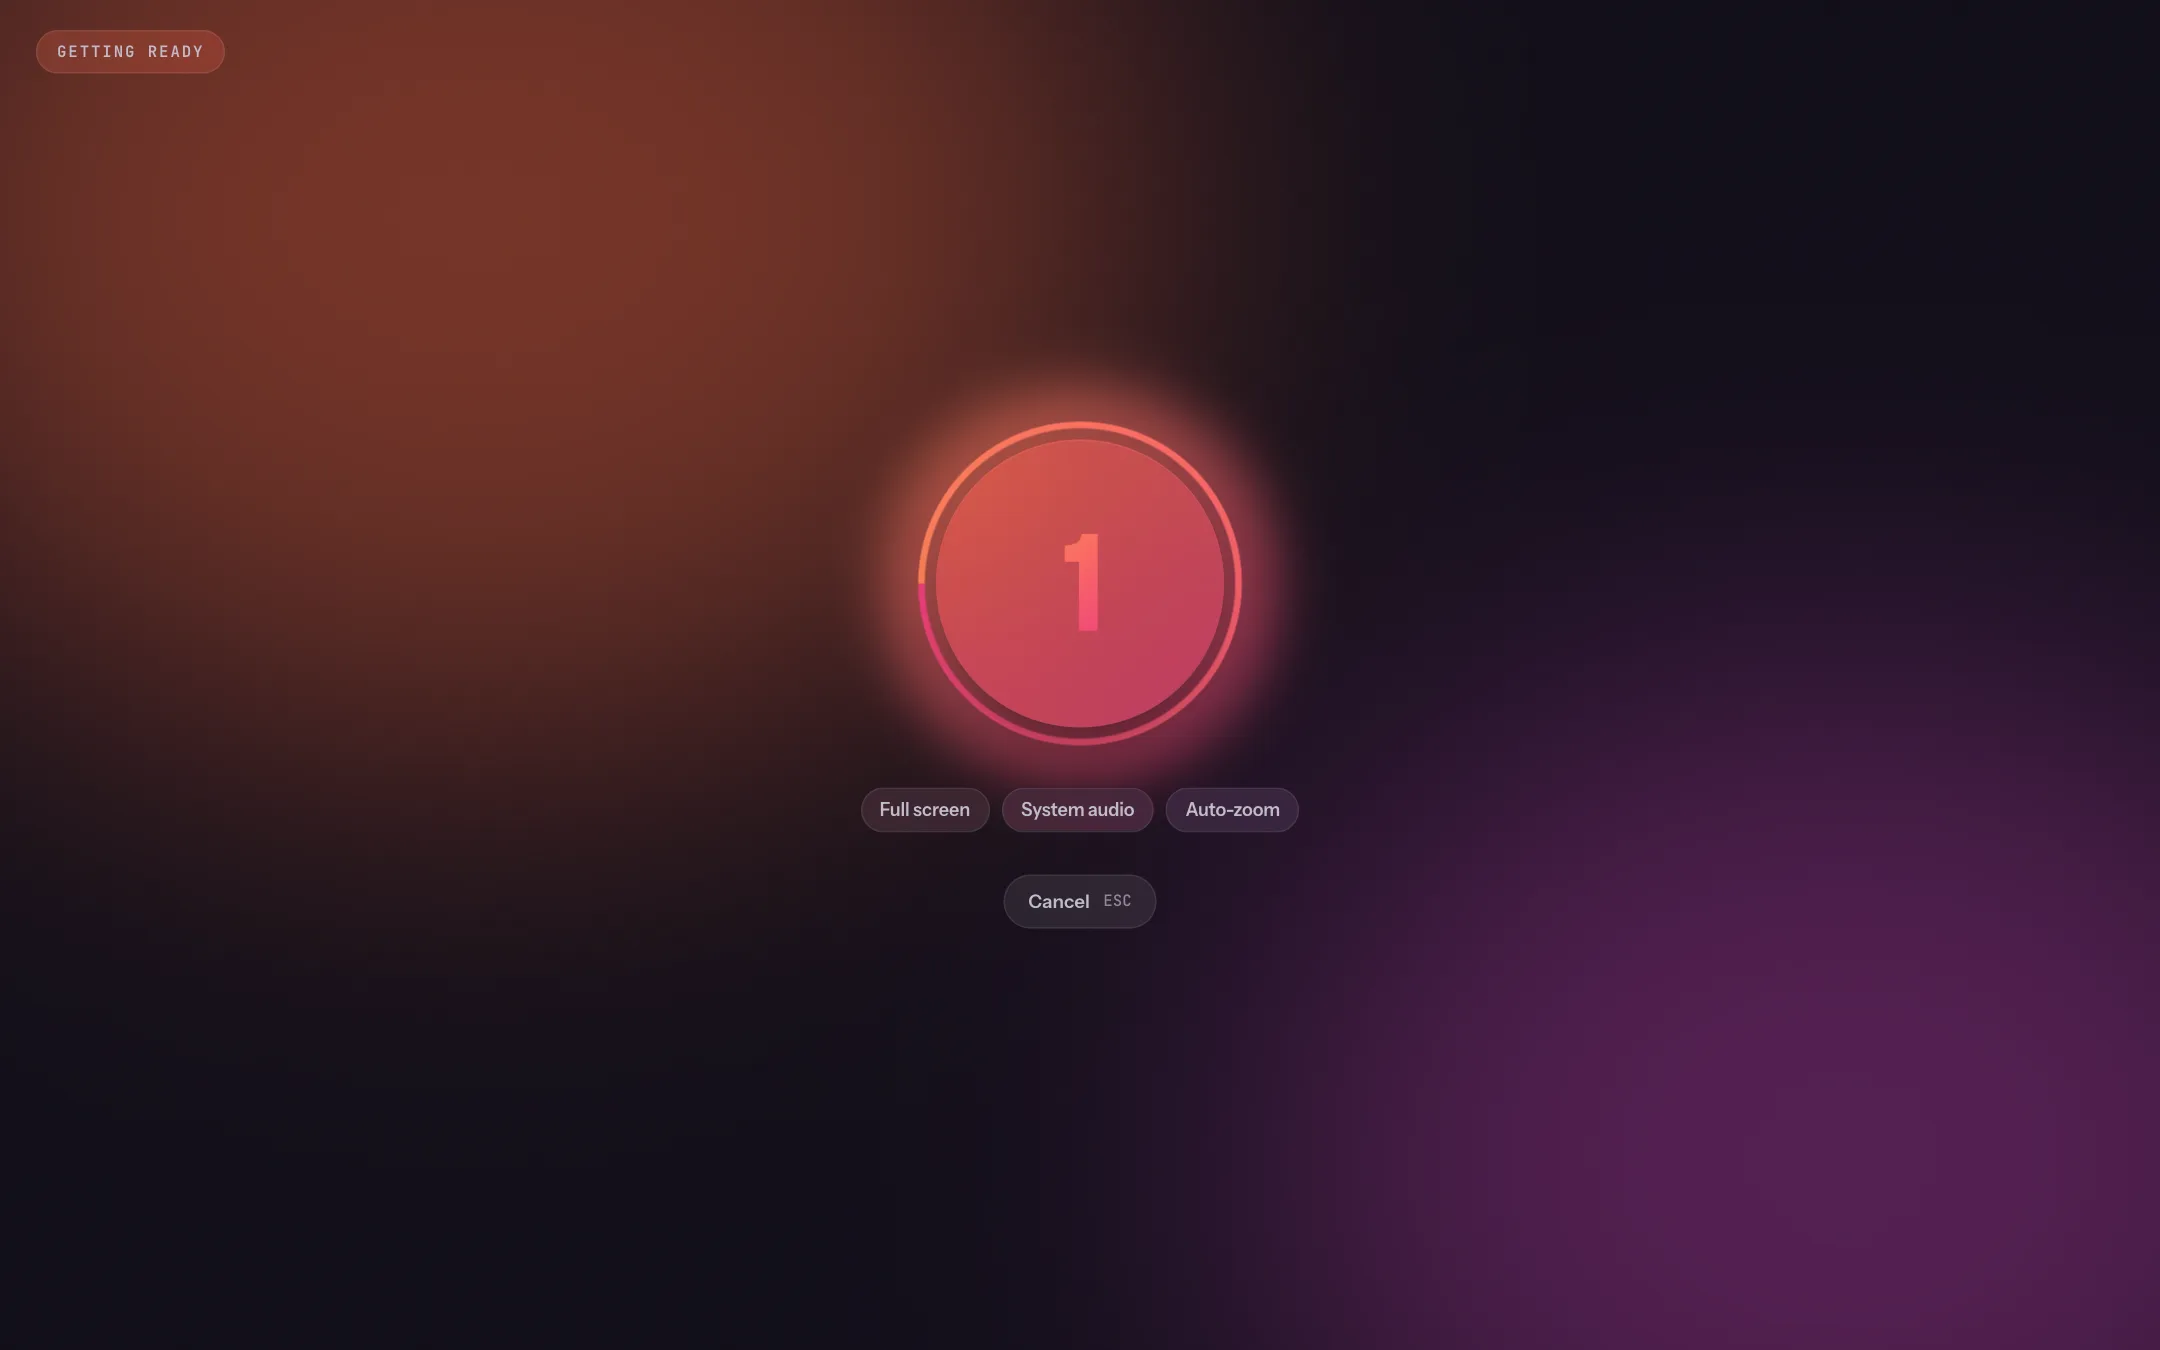
Press Record. Your browser shows its own share dialog. Pick the screen, window or tab, tick Also share tab audio if you want sound, and click Share. Flicka then counts down from three so you can get into position.
Step 3: Record, mark moments, stop
While you record, a small control bar stays on the Flicka tab. It is out of the captured area when you share a different tab or window, so it never ends up in the video.

- TimerElapsed recording time, excluding pauses.
- Audio levelA live meter, so you know the mic is actually picking you up.
- ClicksClicks Flicka has seen, each one a candidate for an auto-zoom.
- MarkPress M to flag a moment. Marks become zooms in the editor.
- PausePause and resume without starting a new take.
- StopFinish. The recording opens straight in the editor.
Step 4: Polish it in the editor
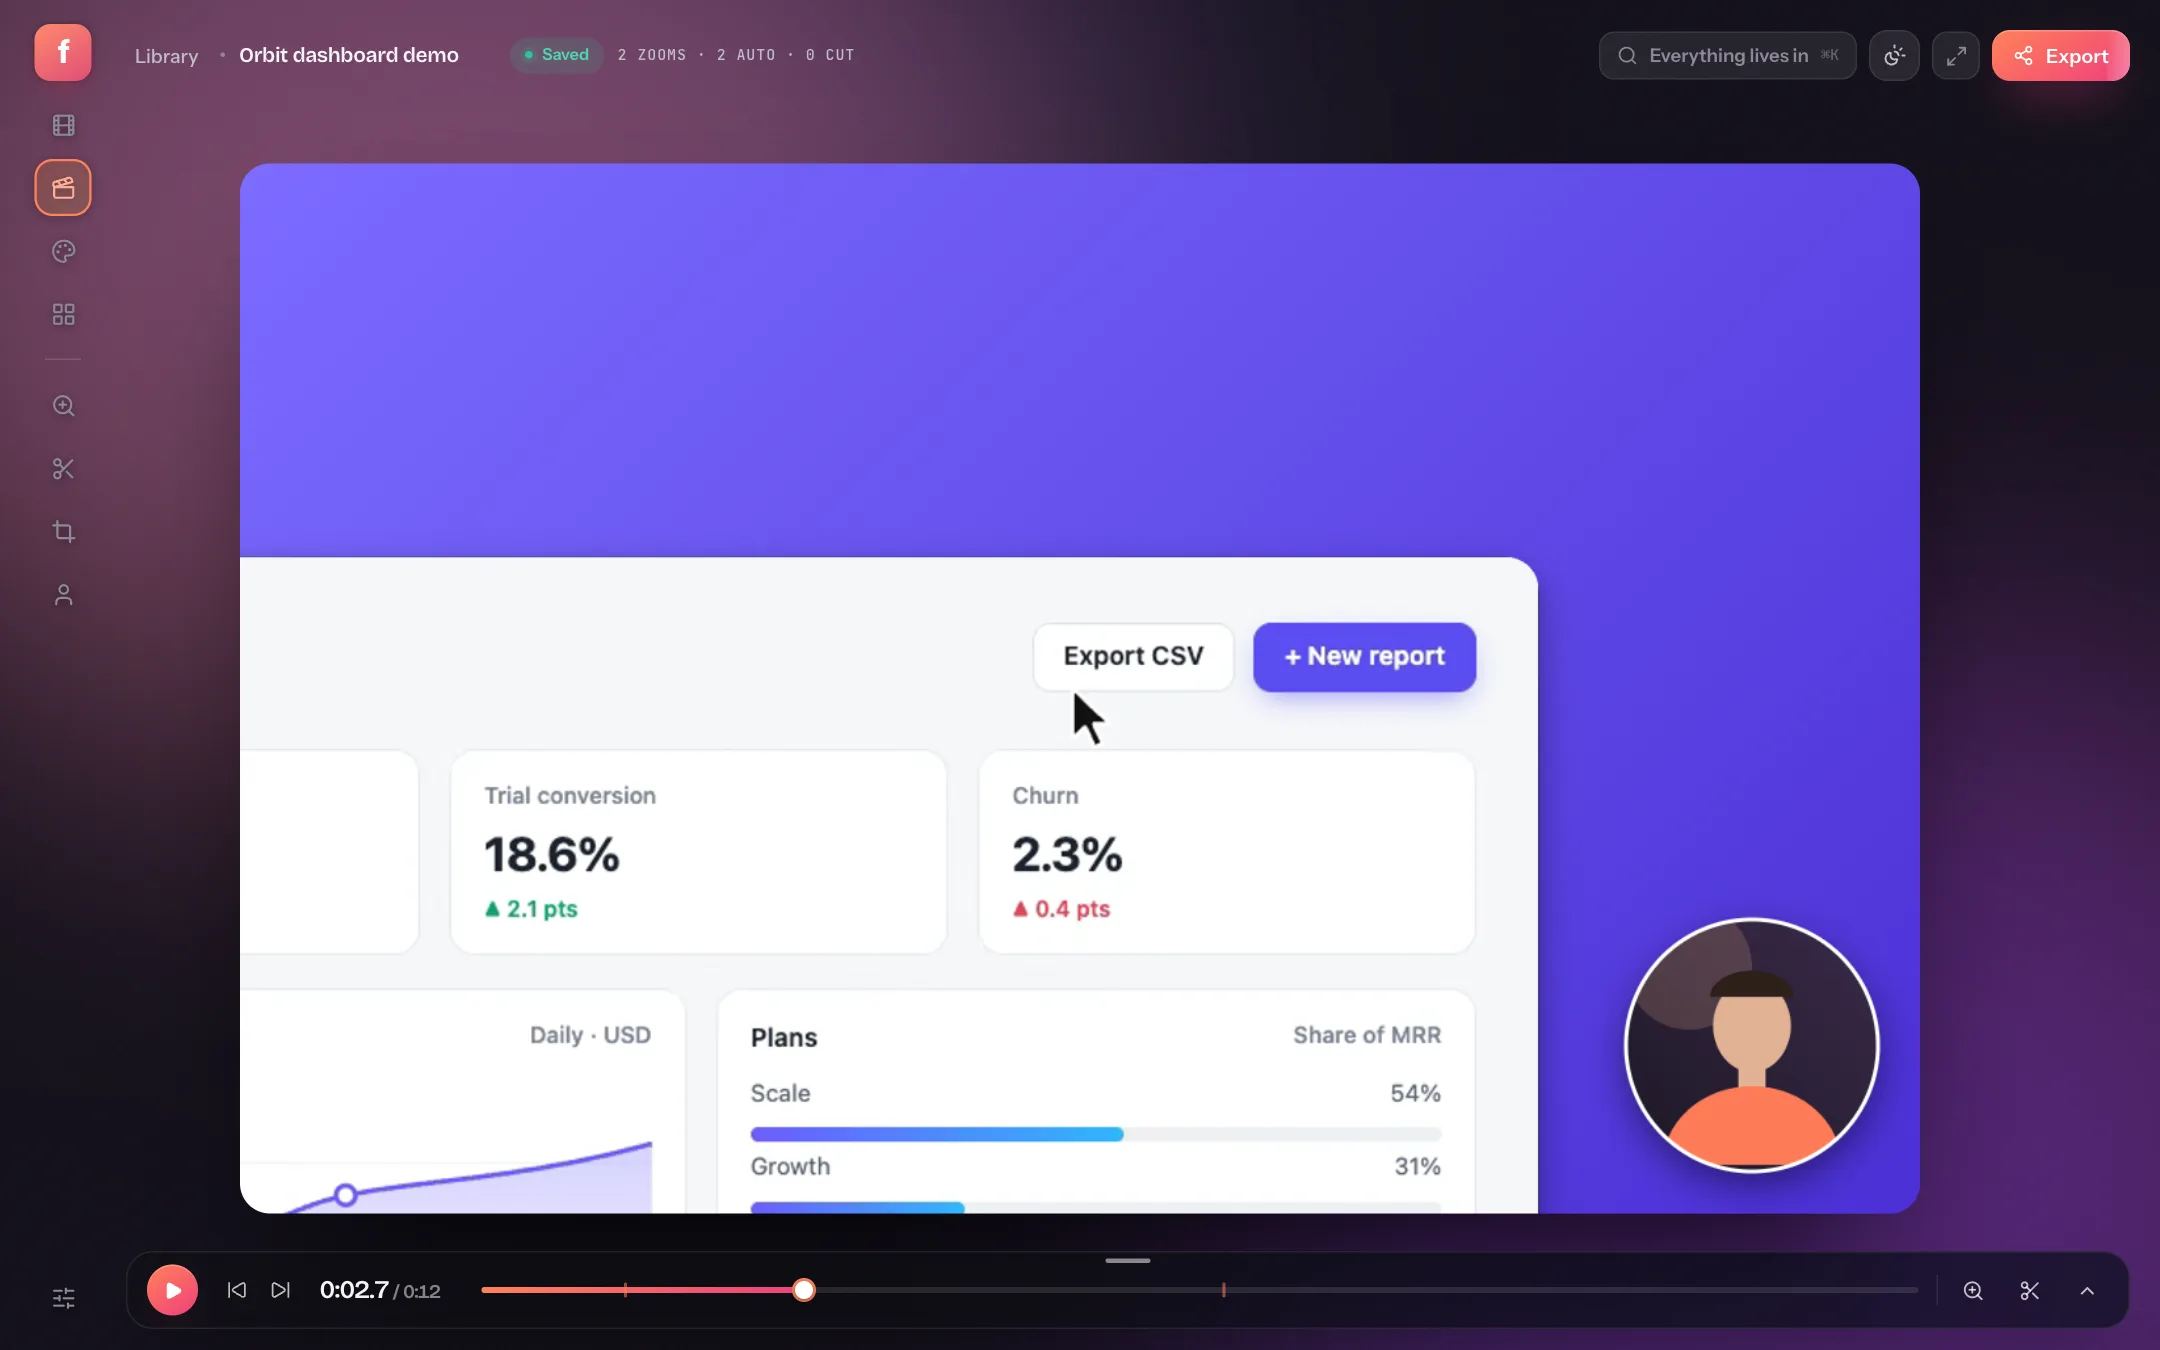
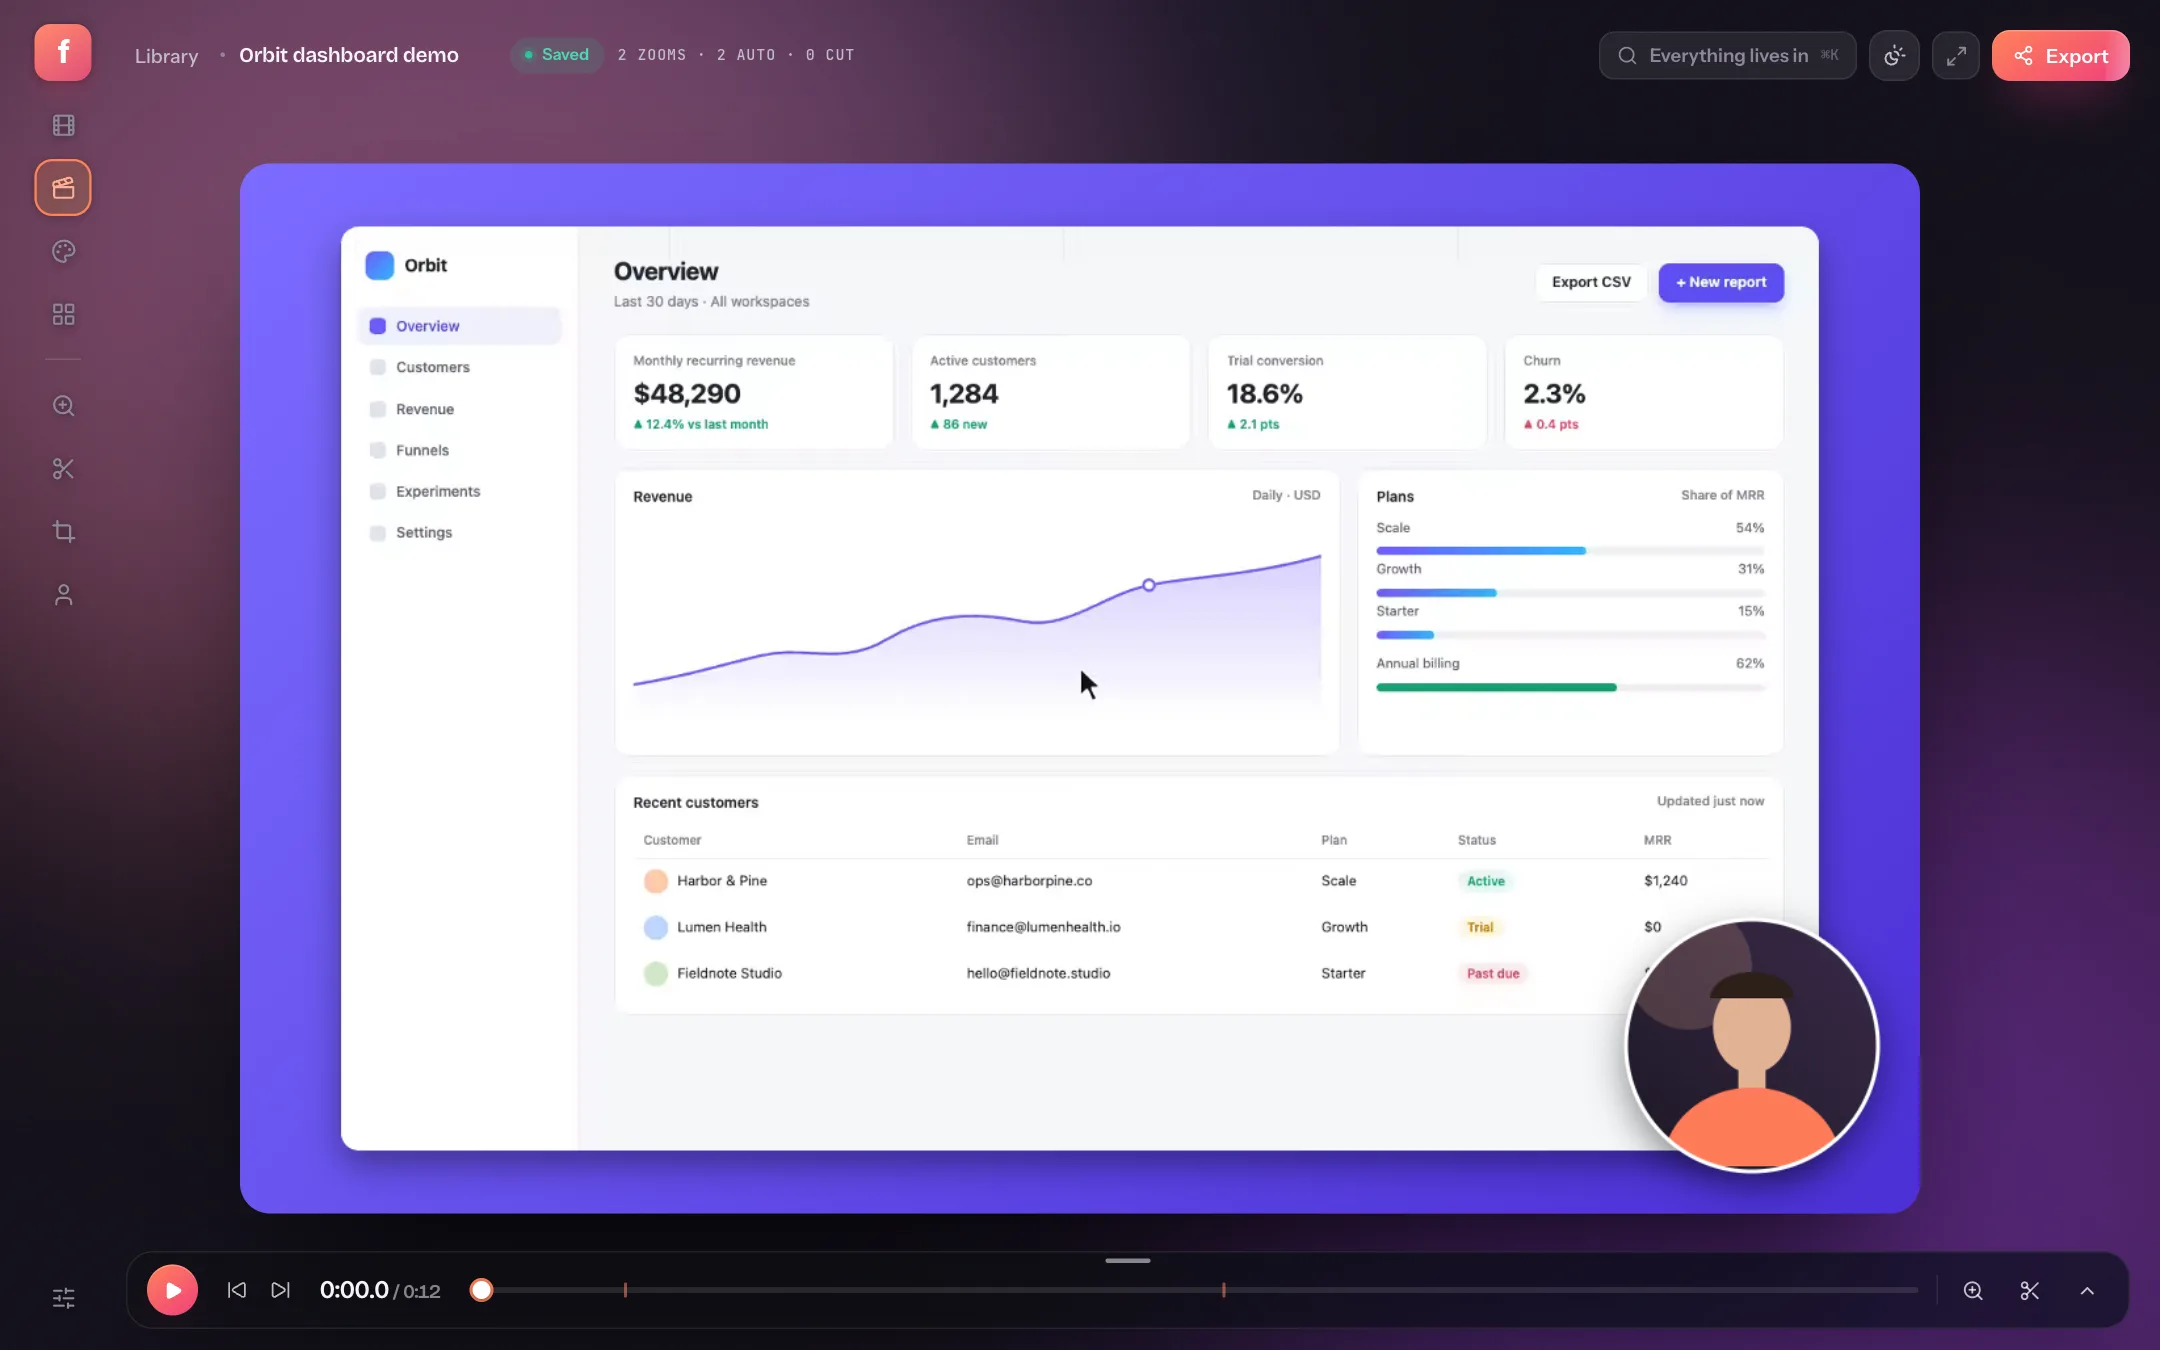
When you stop, the recording opens in the editor already styled: a gradient backdrop, rounded corners, a soft shadow, and zooms on the clicks Flicka saw.
- LibraryBack to all your takes. Everything is saved automatically in your browser.
- Take summaryHow many zooms and cuts the take has, and how many were added automatically.
- Tool railAim a zoom, cut, crop, or place the webcam directly on the canvas.
- SettingsLook, Motion and Sound panels. Press Tab to open them.
- TimelinePlay with Space, step with the arrow keys, and scrub to any moment.
- ExportRender the finished video. More on that in the export guide.
Three edits make the biggest difference: trim the dead seconds at the start and end, check each zoom lands on the right thing (see how auto-zoom works), and pick a backdrop that fits where the video is going.
Step 5: Export an MP4
Click Export, choose a target such as YouTube, and render. Encoding runs on your Mac while you keep editing; a chip in the header tracks progress and saves the file when it's done.
Flicka vs. the built-in Mac tools
| Screenshot toolbar (⇧⌘5) | QuickTime Player | Flicka | |
|---|---|---|---|
| Record full screen or a region | Yes | Yes | Screen, window or tab |
| Microphone | Yes | Yes | Yes |
| Mac or tab audio | No | No | Tab audio, plus system audio where supported |
| Webcam as a separate layer | No | No | Yes (Pro) |
| Automatic zooms on clicks | No | No | Yes |
| Backdrops, frames, cursor effects | No | No | Yes |
| Export formats | .mov | .mov | MP4, WebM, GIF |
If you only need a quick clip for yourself, ⇧⌘5 is fine. When the recording is for someone else — a demo, a tutorial, a bug report, a launch video — the polish is where the time goes, and that's the part Flicka automates.
Recording your screen on a Mac: quick answers
Can I record my Mac screen with internal audio?
Yes, for browser tabs: choose Browser tab and tick Also share tab audio in the share dialog. Whether sound from the whole screen is offered depends on your macOS and browser version. macOS's own screenshot toolbar and QuickTime can't record internal audio at all.
Why is the share dialog blank or my screen greyed out?
Your browser doesn't have macOS screen recording permission yet. Enable it in System Settings → Privacy & Security → Screen & System Audio Recording, then quit and reopen the browser.
Is my recording uploaded anywhere?
No. Flicka records, edits and encodes inside your browser, and stores projects in the browser's own storage on your Mac.
Is there a time limit or watermark?
There's no length limit on any plan. Free exports go up to 1080p with a small Flicka mark; Pro removes the mark and adds MP4 and 4K.