How to annotate and blur screenshots online
A screenshot with an arrow and a blurred email says more than a paragraph. Here's how to annotate one in under a minute without uploading it anywhere.
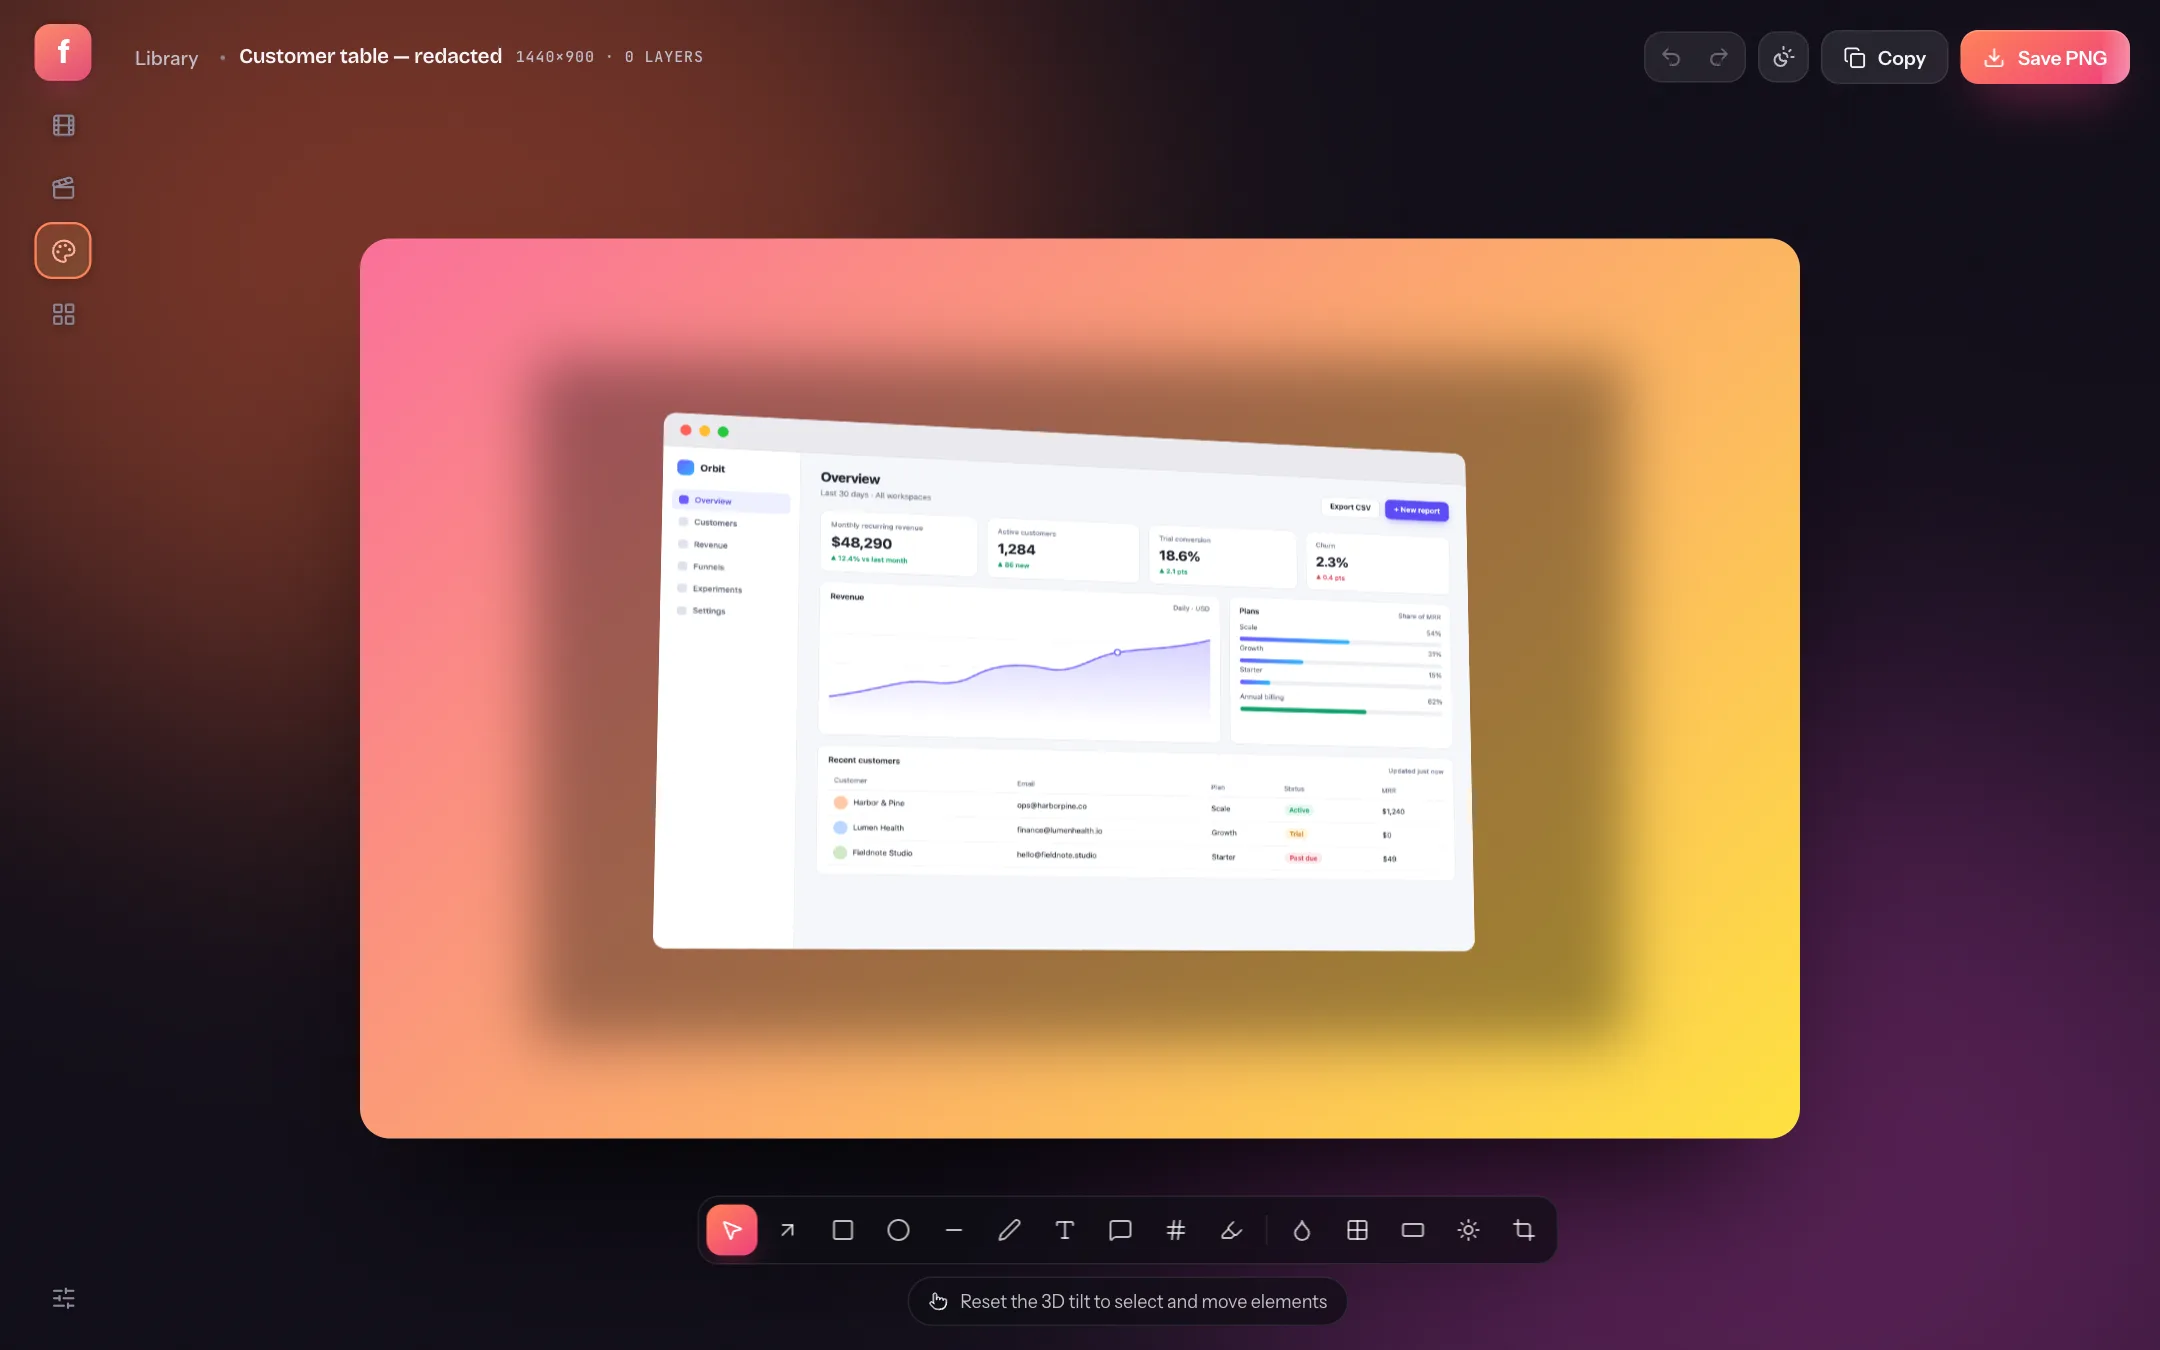
Screenshots end up in bug reports, docs, support replies and launch posts. Almost all of them need the same few edits: point at something, number the steps, and hide the email address or API key that happened to be on screen.
The annotator in Flicka does those edits on top of any image. It runs in your browser, so a screenshot of customer data never leaves your computer — which matters more than it sounds when the reason you're blurring something is that it's private.
Step 1: Bring in your screenshot
- Capture one: choose Screenshot on the record card, pick a screen, window or tab, and it opens in the annotator.
- Paste one: copy any image and press ⌘V / Ctrl+V anywhere in the library.
- Drop one: drag an image file onto the library, or click Drop or paste an image to pick a file.
Step 2: Annotate with the tool dock
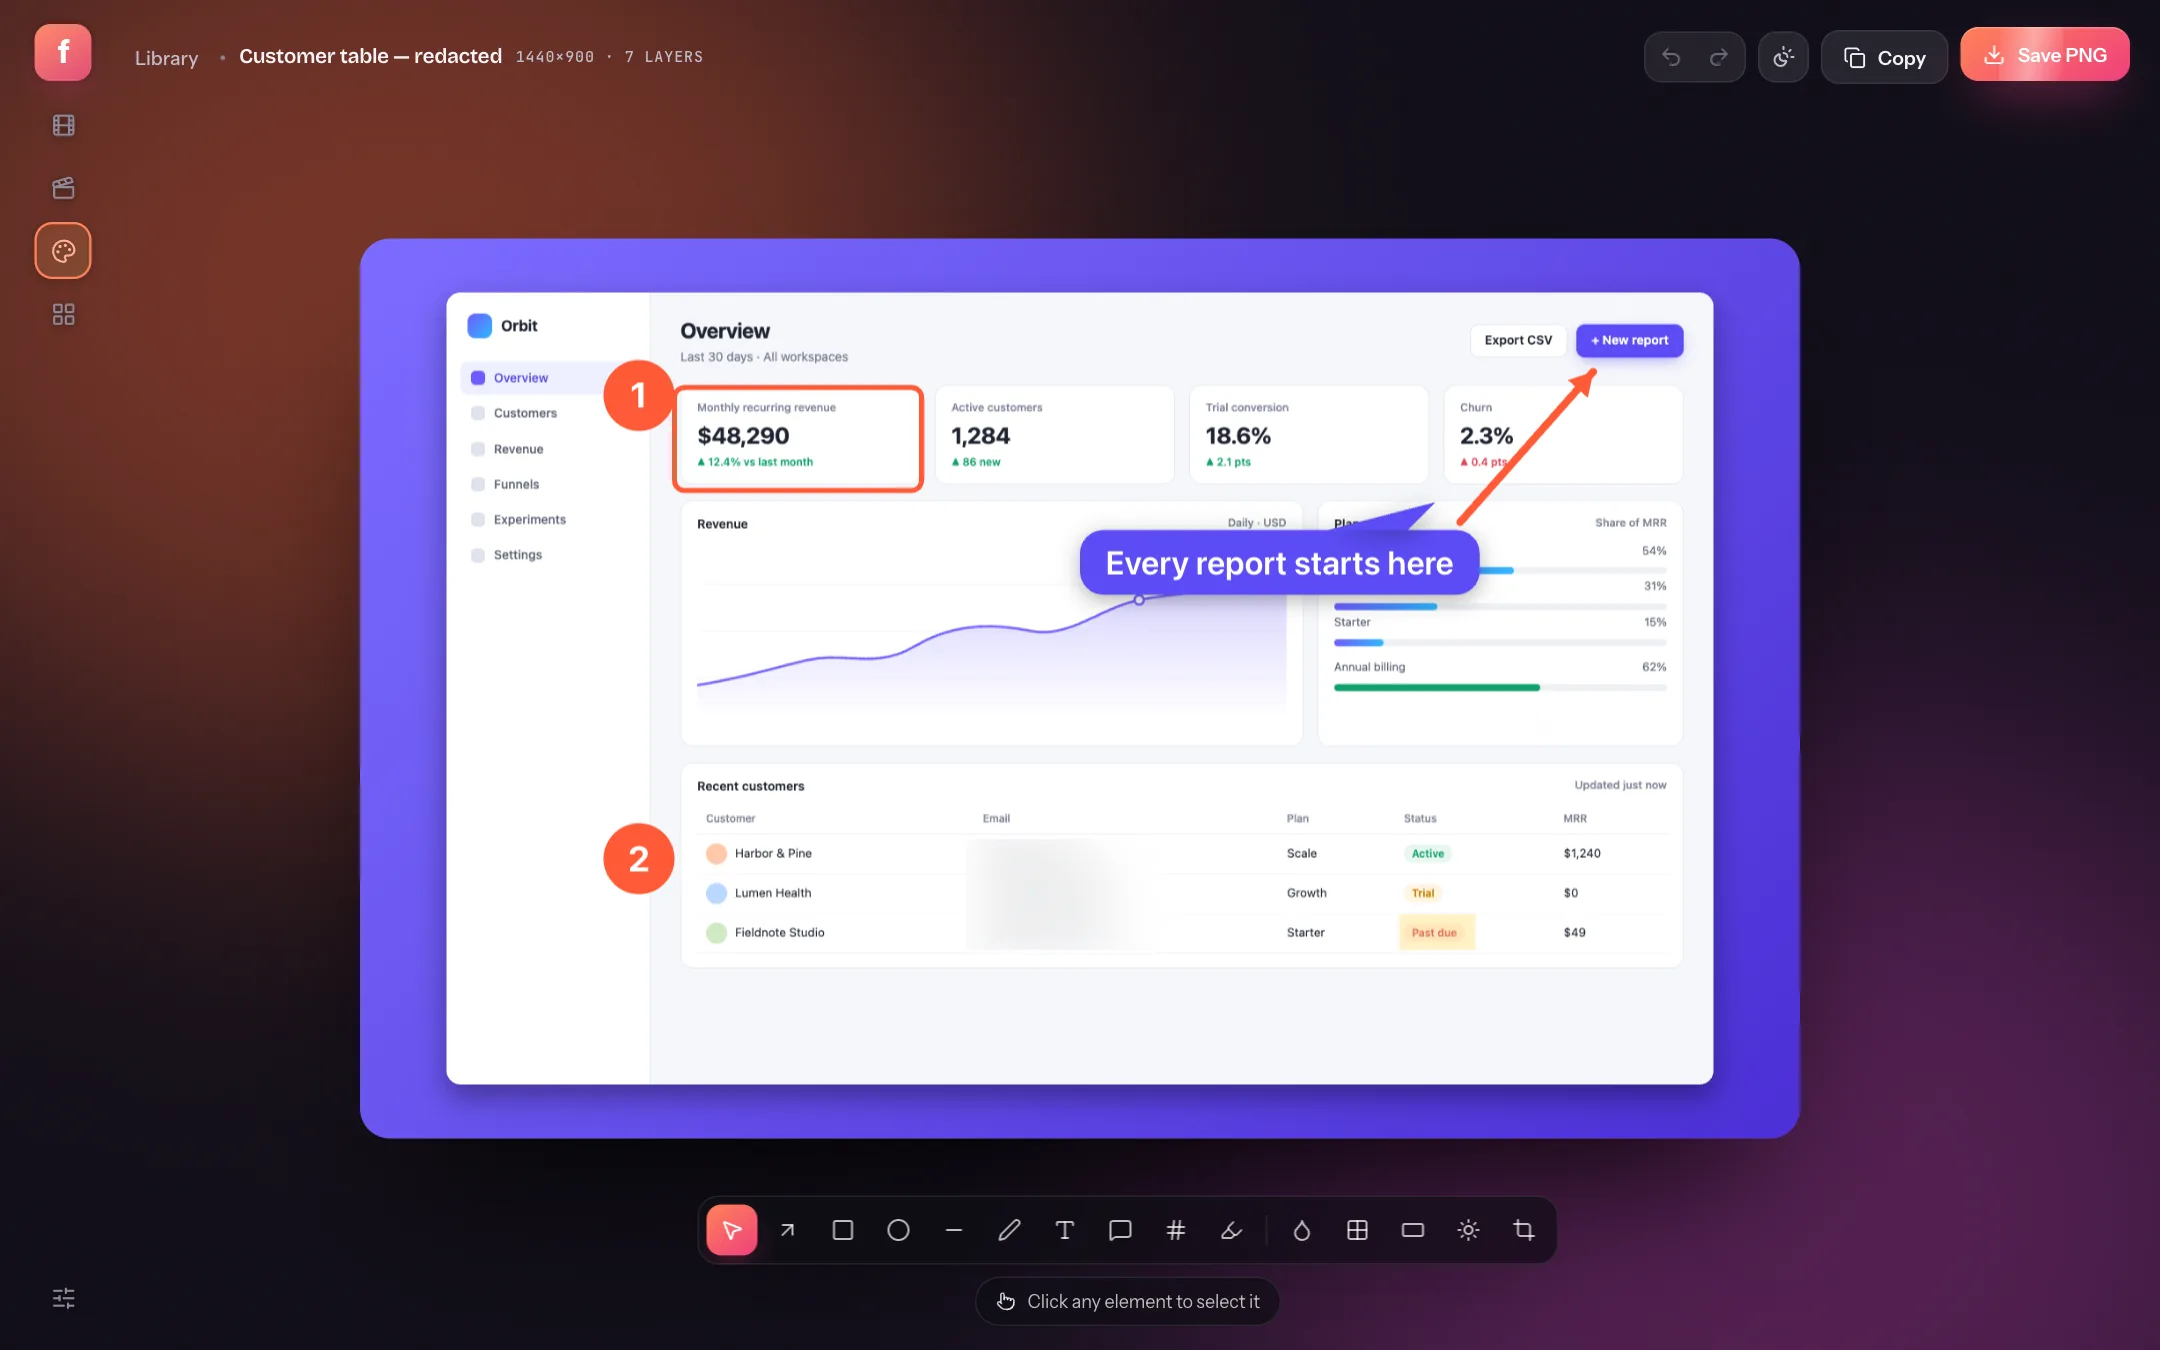
- ShapesArrow A, rectangle R, ellipse O, line L and pen P.
- CalloutsSpeech-bubble labels with six styles and a tail that points at what you mean.
- Step numbersPress N and click; numbers count up automatically, for how-to screenshots.
- BlurPress B and drag over anything private. Pixelate and redaction bars sit next to it.
- CopyPuts the finished image on your clipboard to paste into Slack, Linear or email.
- Save PNGDownloads the image at the export size you choose.

- VSelect and move
- AArrow
- RRectangle
- TText
- NStep number
- HHighlight
- BBlur
Step 3: Hide private information properly
There are three privacy tools, and the right one depends on how private the detail is:
| Tool | Looks like | Use it for |
|---|---|---|
| Blur | Soft, unreadable | Names and emails in a table where the layout should stay visible |
| Pixelate | Blocky mosaic | The classic "hidden on purpose" look for public posts |
| Redaction bar | Solid block | Passwords, API keys, card and account numbers |
Step 4: Choose the size and export
Open the side panel with Tab. Scene sets the backdrop and frame, Layers lists every annotation so you can select or hide them, and Export picks the output size.
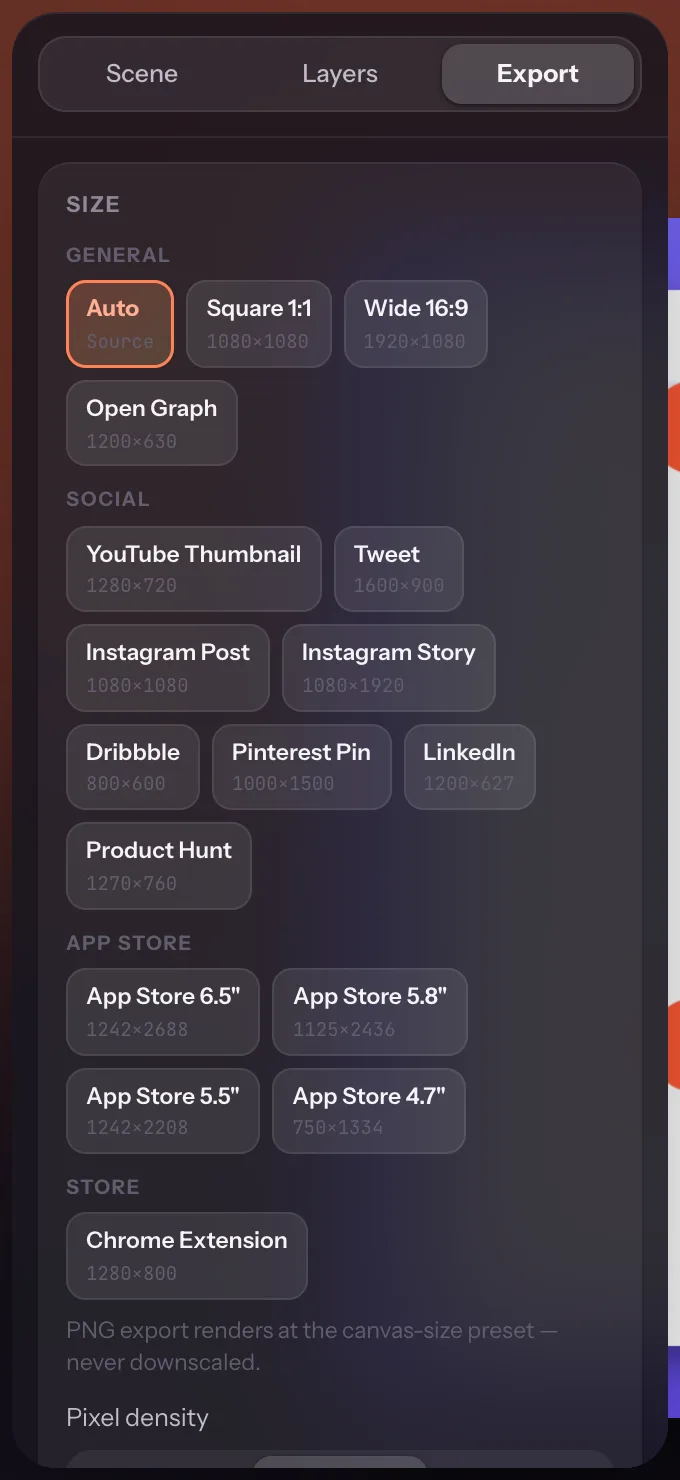
A screenshot for a tweet or a landing page usually looks better on a backdrop than as a raw rectangle. That's a one-click change covered in making beautiful screenshots.
Annotating screenshots: quick answers
How do I blur part of a screenshot for free?
Open the image in Flicka's annotator, press B, and drag over the area. Blur is available on the free plan and the result is saved into the PNG.
Can I annotate an image I didn't capture in Flicka?
Yes. Paste or drop any image into the library and it opens in the annotator with every tool available.
Are my screenshots uploaded?
No. Images stay in your browser's storage, and annotation and export happen on your device.
Can I edit annotations later?
Yes. Every annotation stays an editable layer in the project, so you can move, restyle or delete it and export again.