How to export a screen recording for YouTube, X and Instagram
Each platform wants a different shape and frame rate. Here's what to pick for YouTube, X, Instagram and GIFs, and why MP4 is usually the answer.
A screen recording that looks crisp in the editor can come out blurry, cropped or bloated once a platform has re-encoded it. Most of that is avoidable by exporting at the size and frame rate the platform expects, in a format it handles well.
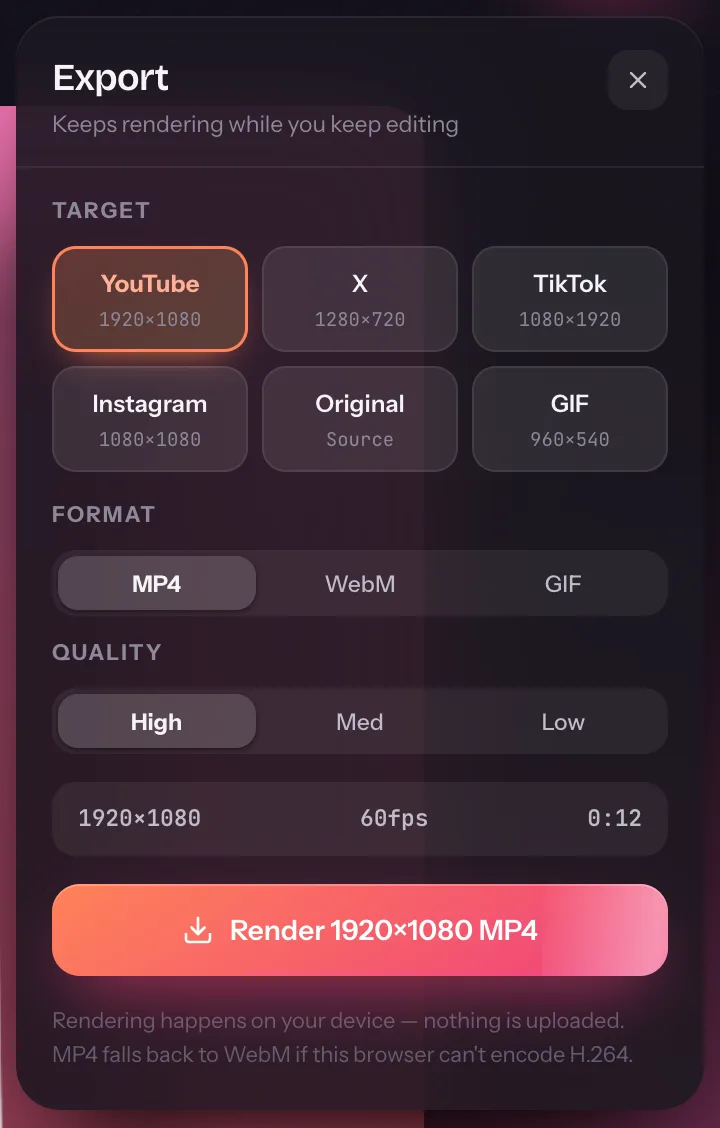
Flicka's export sheet turns those decisions into targets. Pick where the video is going, and the size, frame rate and format follow.
Step 1: Open the export sheet
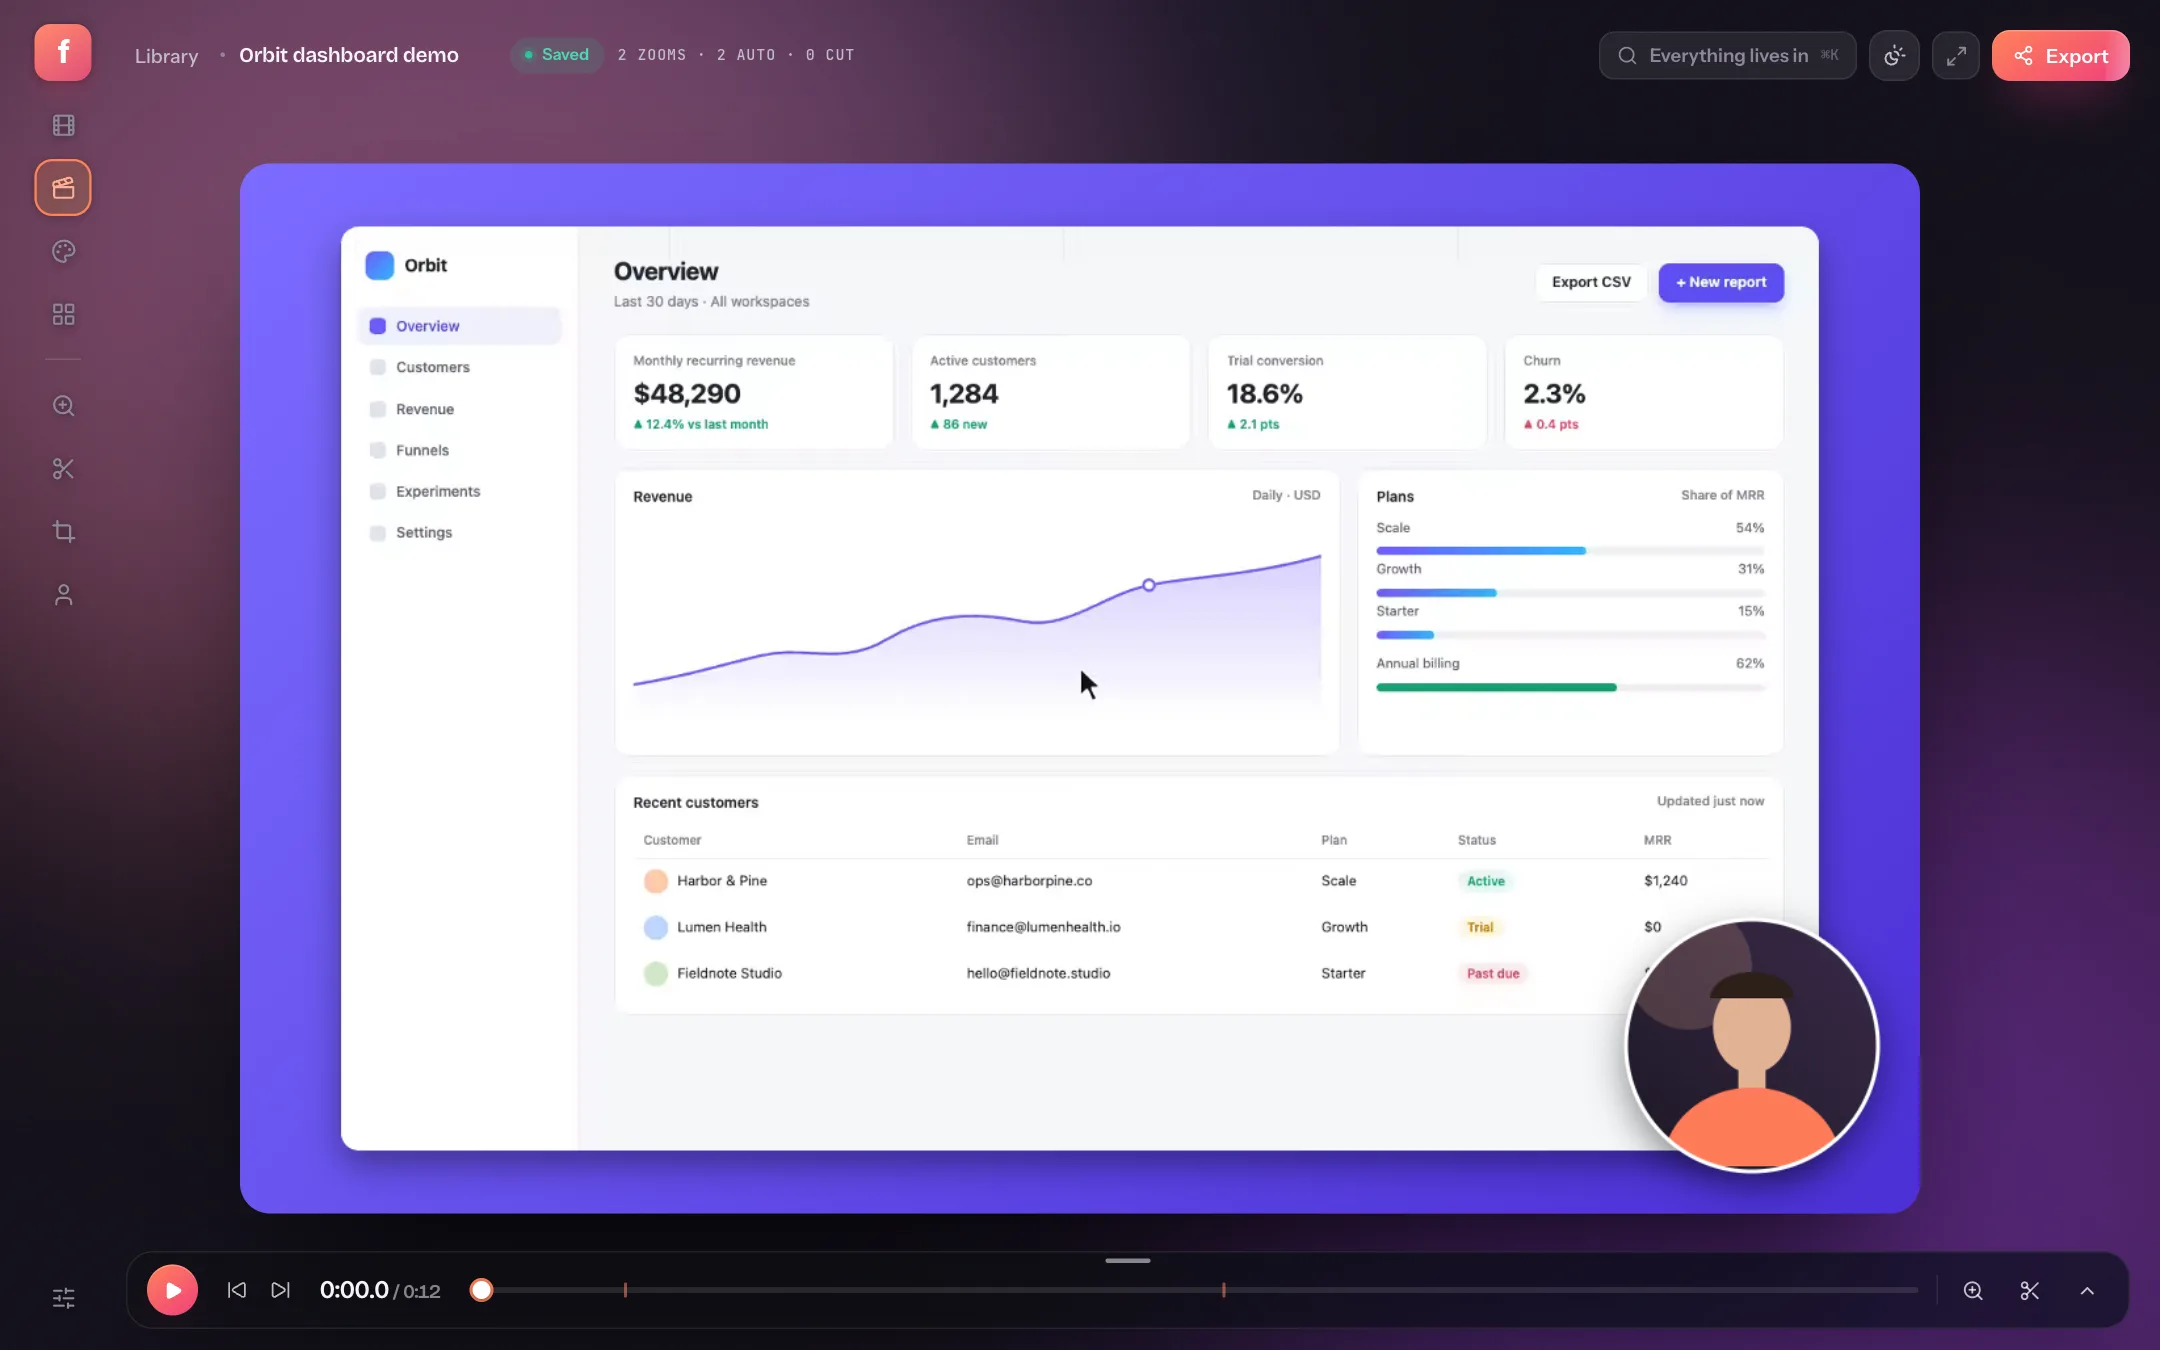
In the editor, click Export in the top-right corner. (New to the editor? Start with recording your screen.) The sheet slides in over the canvas, and your edit stays live behind it.
- TargetPresets that set size and frame rate for each platform.
- VerticalTikTok renders a 9:16 video at 1080 × 1920.
- GIF960 × 540 at up to 15 fps, sized for docs, READMEs and chat.
- FormatMP4 for sharing, WebM for the web, GIF for silent loops.
- QualityHigh, medium or low bitrate. Medium is plenty for short social clips.
- RenderStarts the render. The label shows the exact size and format you'll get.
Step 2: Pick the target for your platform
| Target | Size | Frame rate | Best for |
|---|---|---|---|
| YouTube | 1920 × 1080 | 60 fps | Tutorials, walkthroughs, anything over a minute |
| X | 1280 × 720 | 30 fps | Feature announcements and replies |
| TikTok | 1080 × 1920 | 30 fps | Vertical 9:16 video |
| 1080 × 1080 | 30 fps | Square feed posts and LinkedIn | |
| Original | Your canvas size | 60 fps | Keeping a master copy at full quality |
| GIF | 960 × 540 | Up to 15 fps | Docs, GitHub READMEs, Slack and Notion |
Step 3: MP4, WebM or GIF?
- MP4 (H.264) plays everywhere and every platform accepts it. This is the right default for uploads.
- WebM is smaller at the same quality and plays in every modern browser, which makes it ideal for embedding on your own site.
- GIF has no sound and large files, but it autoplays anywhere, including places that don't play video, like GitHub READMEs and many docs tools.
Step 4: Render while you keep editing
Rendering happens on your device, so nothing is uploaded and there's no queue. It also runs in the background: close the sheet and keep editing, and a chip in the editor header shows progress. When it finishes, save the file from the chip or the sheet.
How to turn a screen recording into a GIF
Trim to the loop
GIFs should be short. Drag the trim handles on the timeline so the clip is a few seconds long and starts and ends on a similar frame.
Choose the GIF target
Open Export and pick GIF. The format switches to GIF and the size to 960 × 540.
Render and share
Press Render. The encoder runs in your browser, with no upload and no conversion site.
Exporting screen recordings: quick answers
What's the best format for a screen recording?
MP4 with H.264 for uploading anywhere. WebM if you'll host the video on your own site. GIF only for short, silent loops.
What size should a video be for X (Twitter)?
Use the X target: 1280 × 720 at 30 fps. It uploads quickly and looks sharp in the timeline.
Why is my exported screen recording blurry?
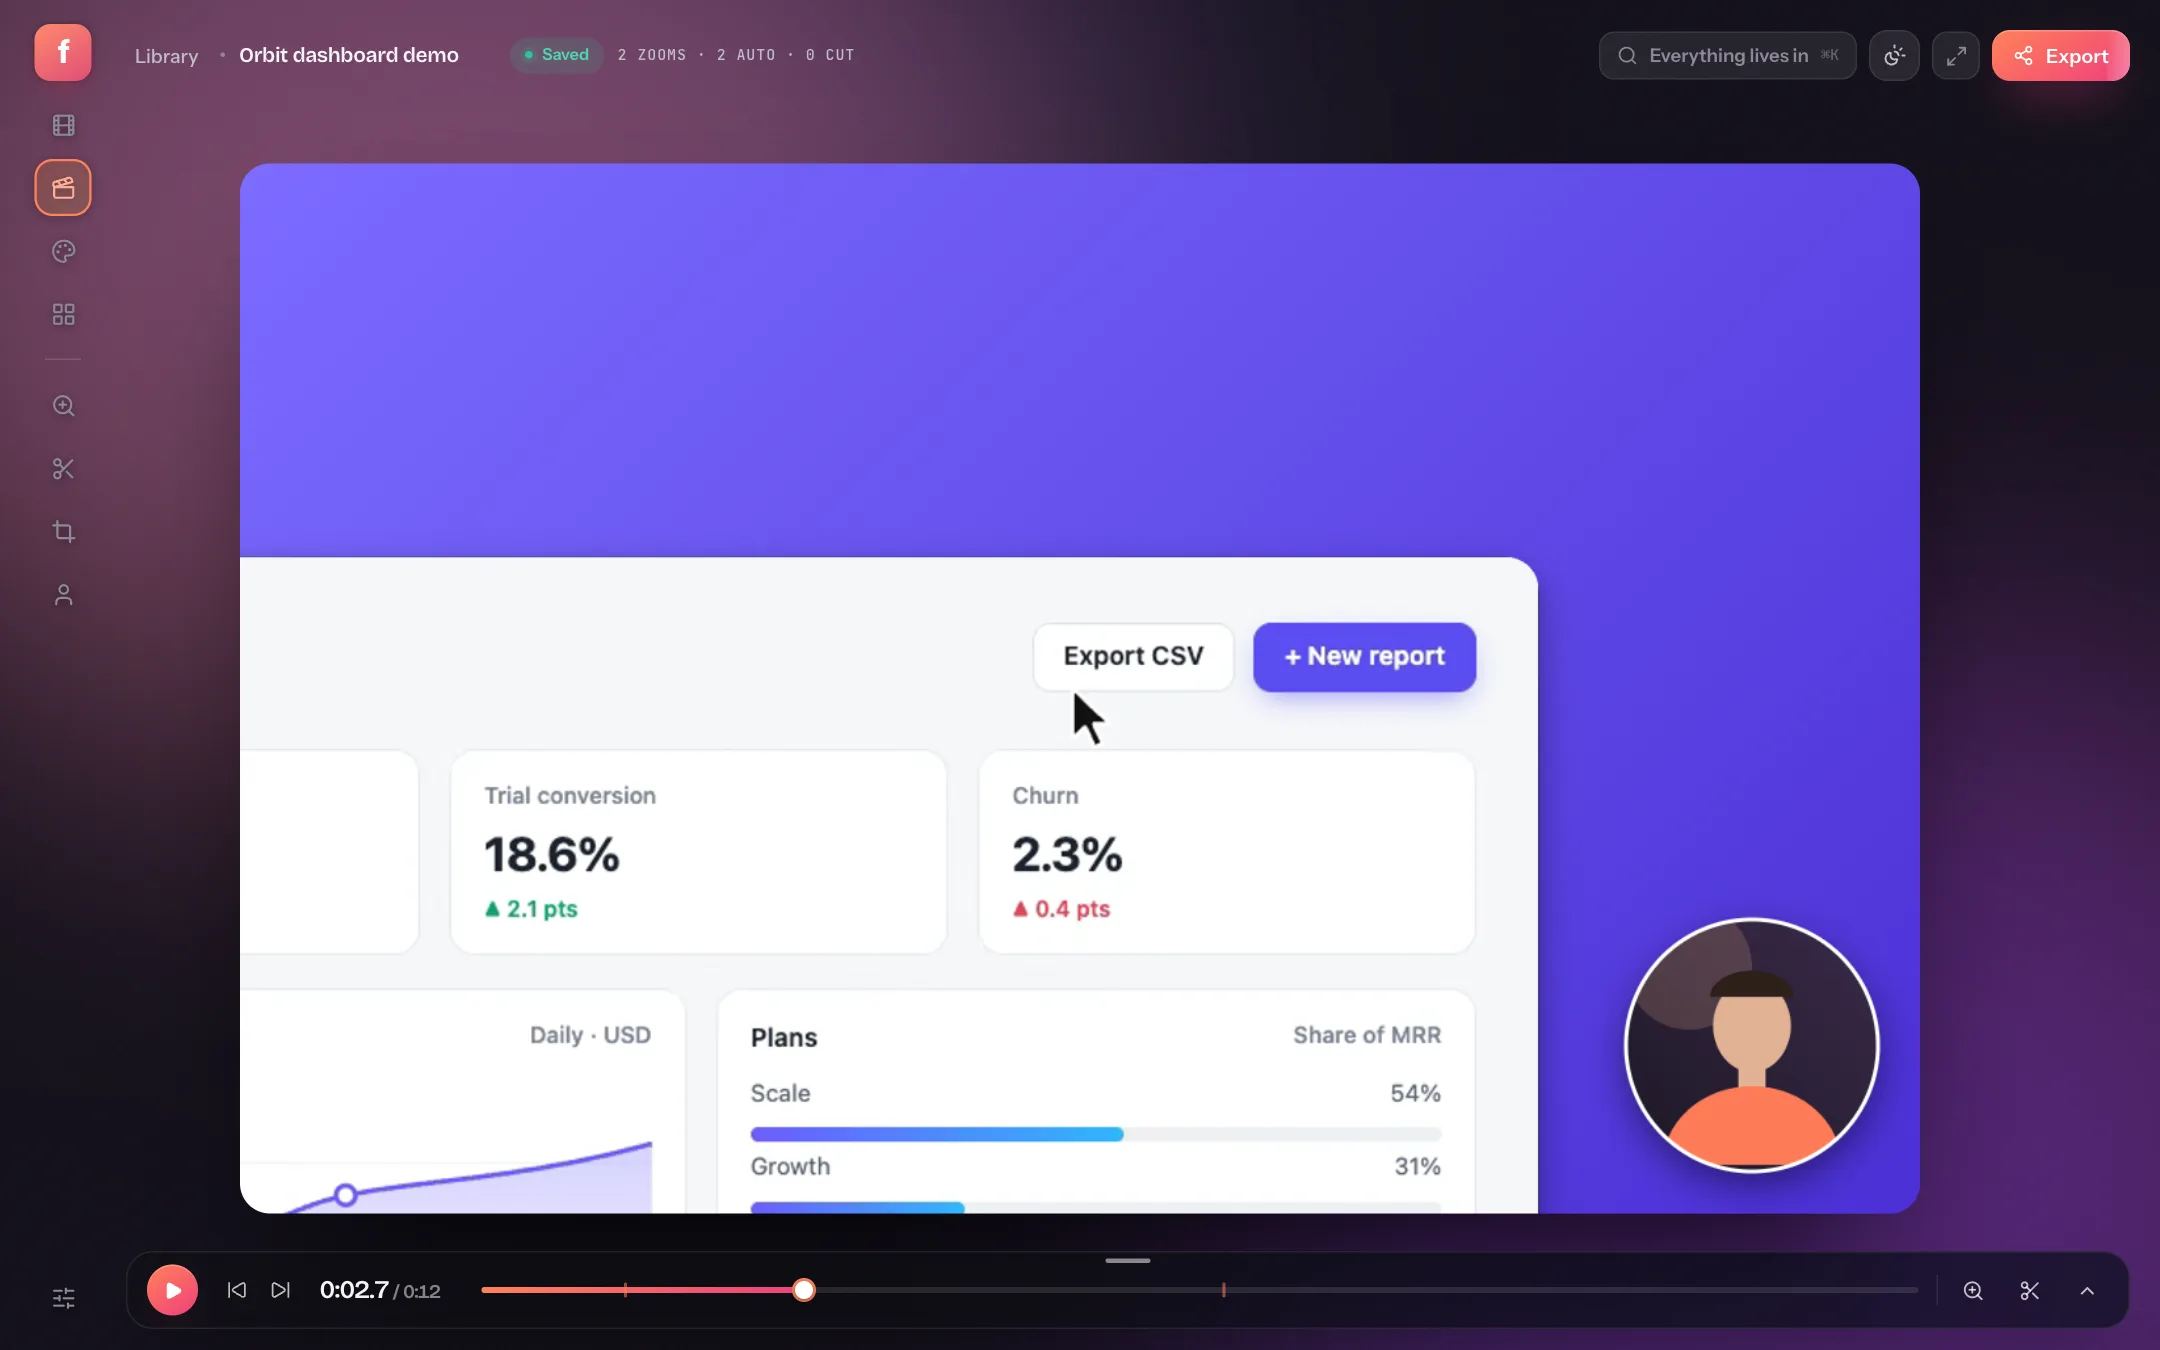
Usually because the text is too small for the output size. Add a zoom on the important moments, or export at YouTube size instead of a smaller preset.
Can I close the tab while it renders?
No. Rendering happens in the tab, so closing it stops the render. You can keep editing or close the export sheet while it runs.