How to make beautiful screenshots with backgrounds and mockups
The difference between a raw capture and a launch-ready image is five settings. Here's what each one does and the combinations that work.
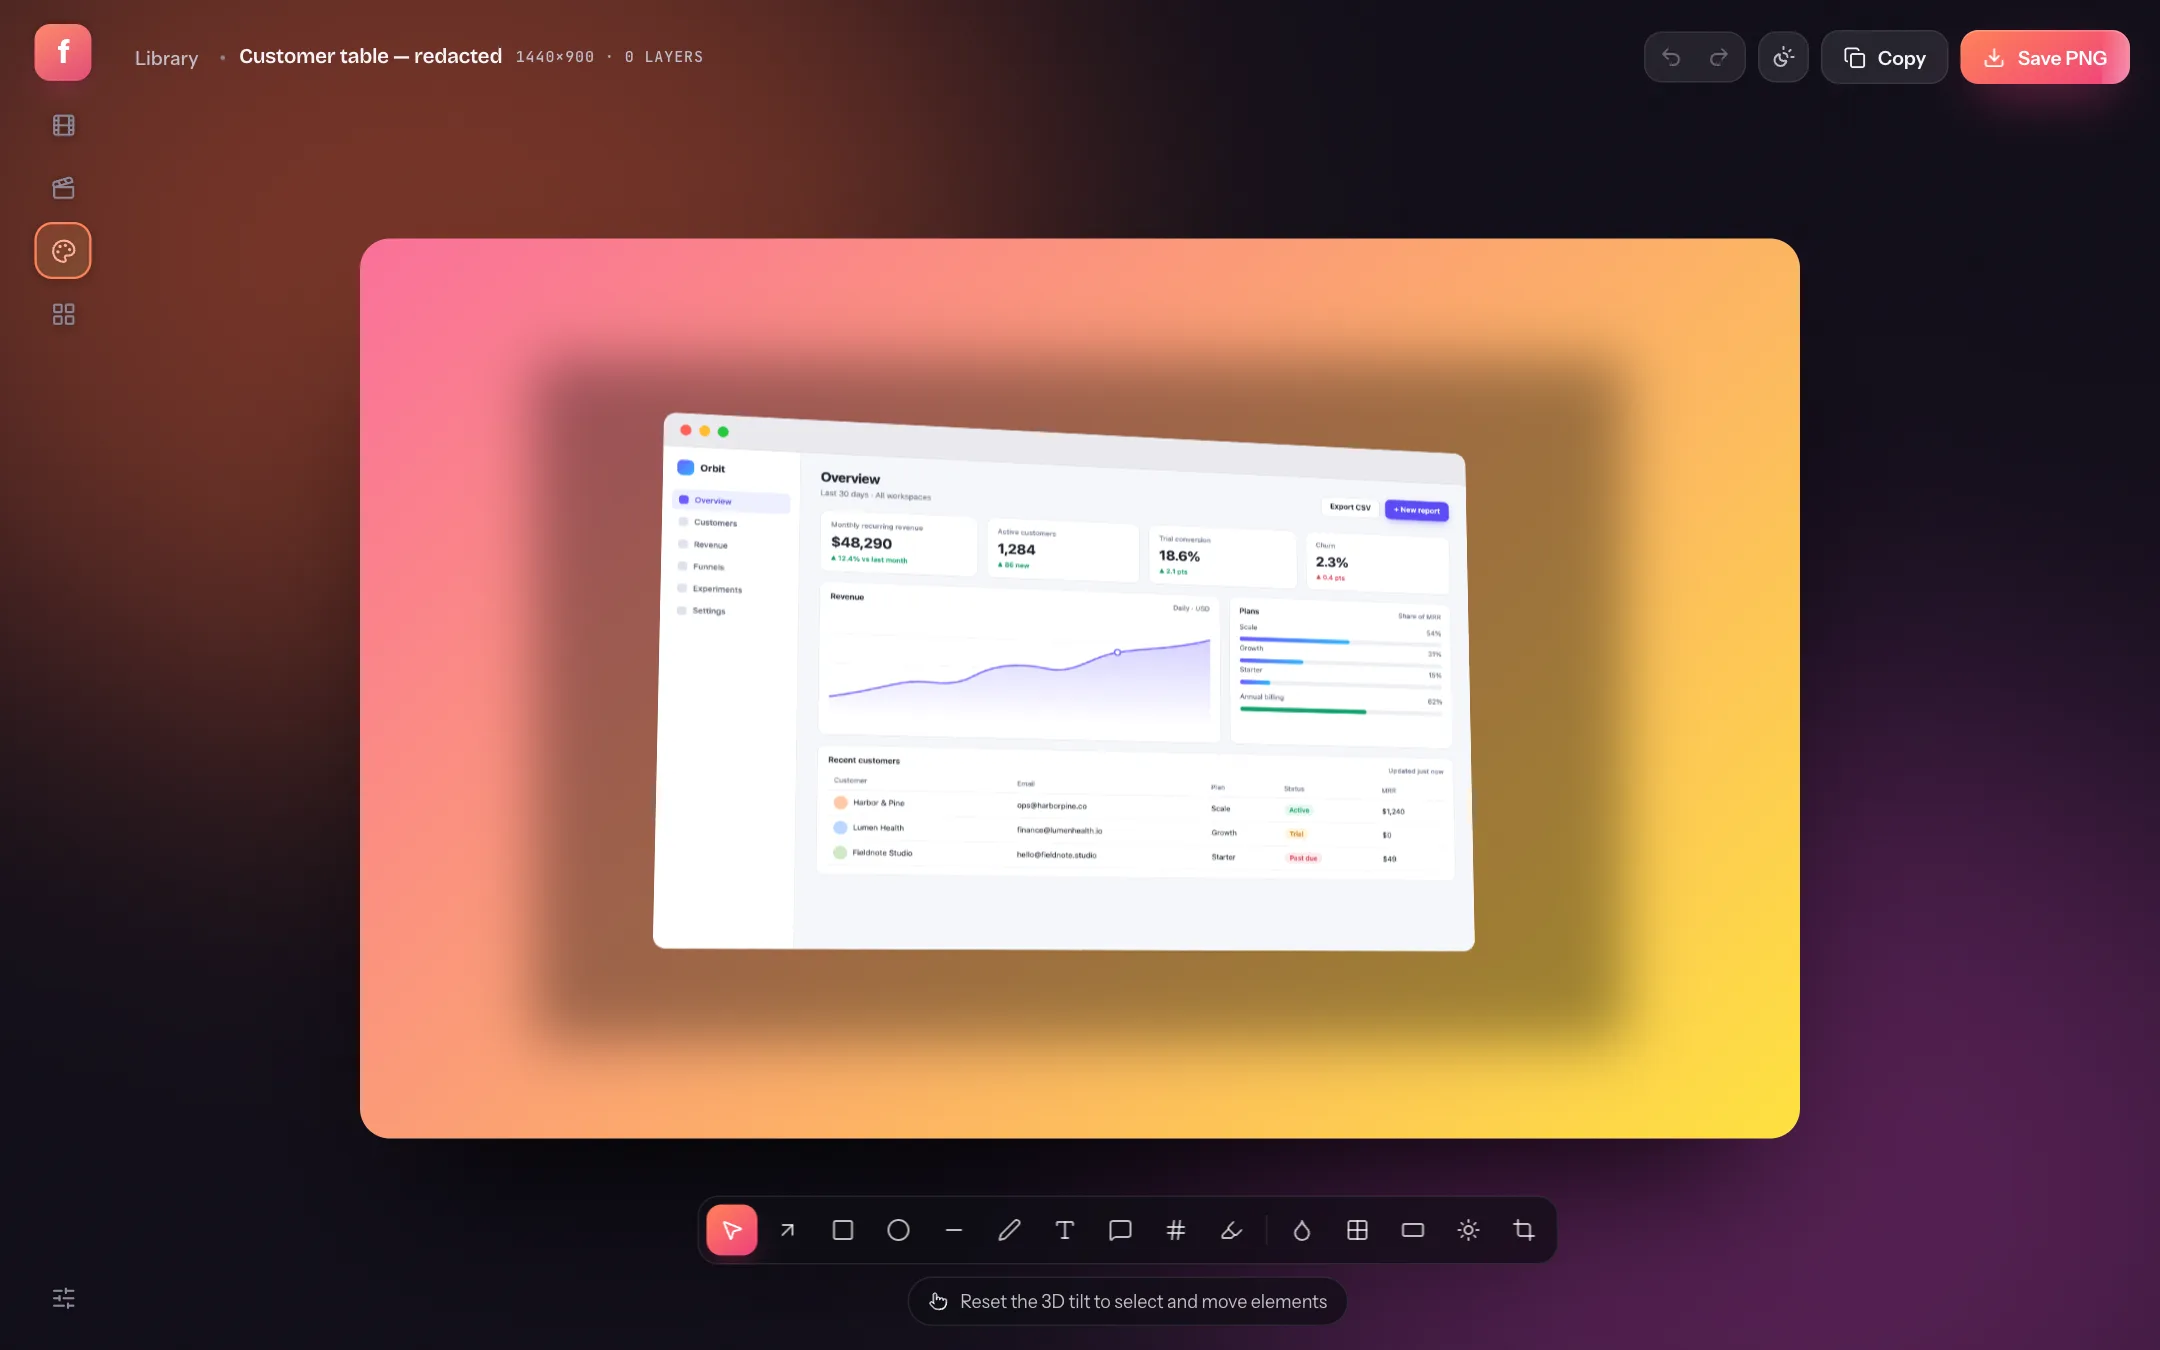
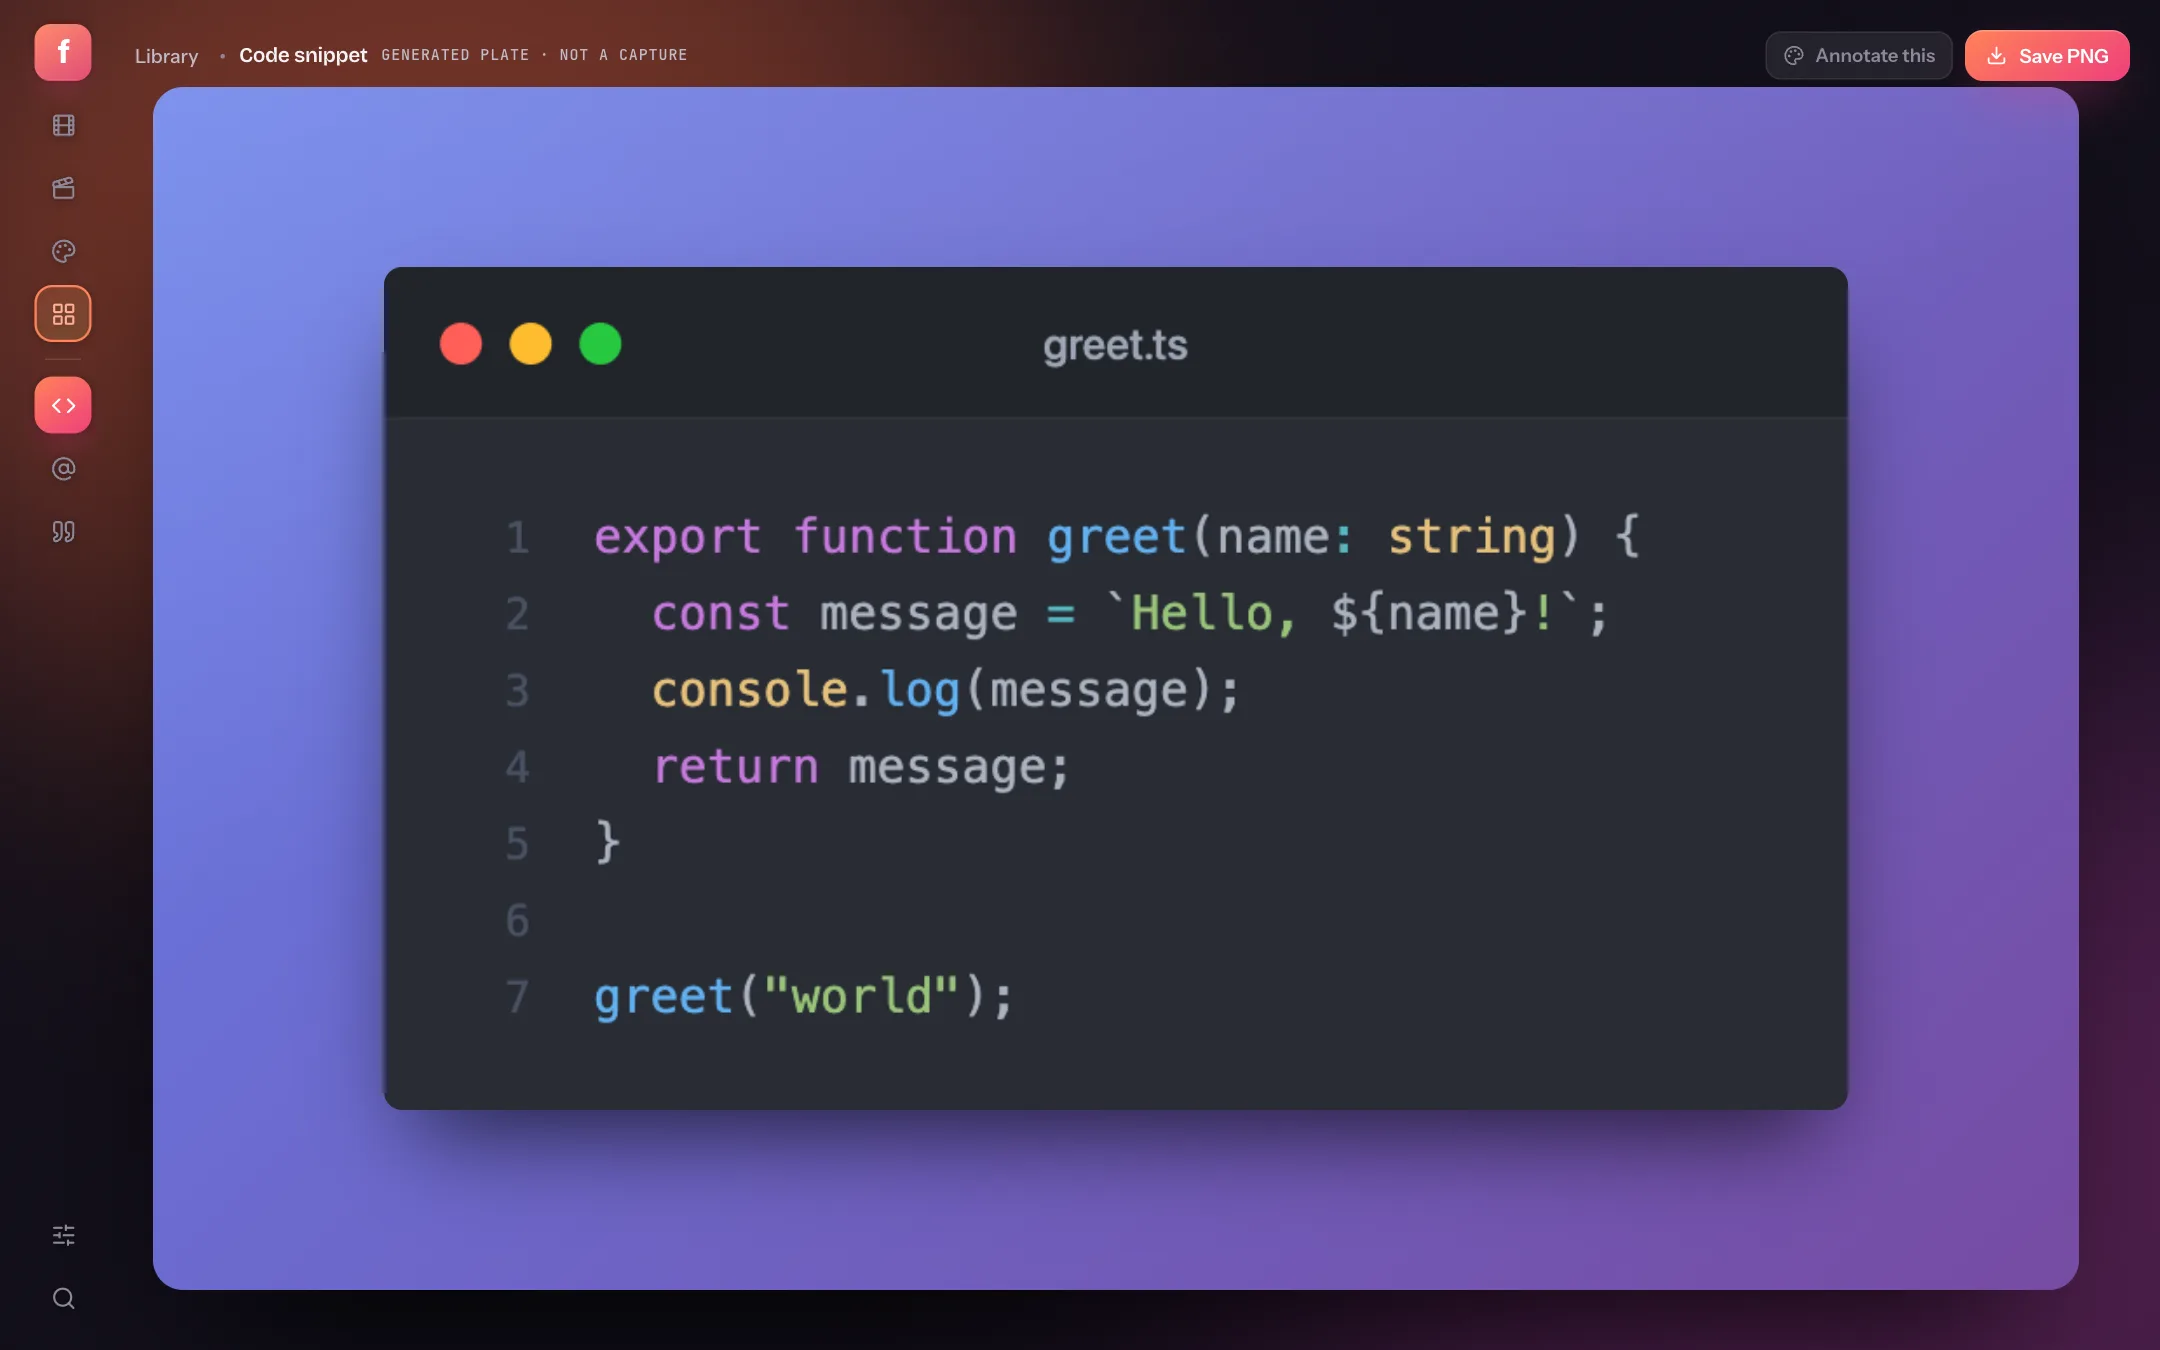
A raw screenshot is a hard-edged rectangle that blends into whatever it's posted on. Put the same capture on a background, give it a window frame and a soft shadow, and it reads as a finished visual — the look you see on product launch pages and in feature announcements.
In Flicka, those settings are the same for screenshots and screen recordings, so a video and its thumbnail can match exactly. Everything below works in both the annotator and the video editor, under the Look panel.
1. Start from a preset
Presets are complete looks — backdrop, frame, shadow and tilt together. Pick one first, then adjust. It's faster than building from scratch and the combinations are already balanced.
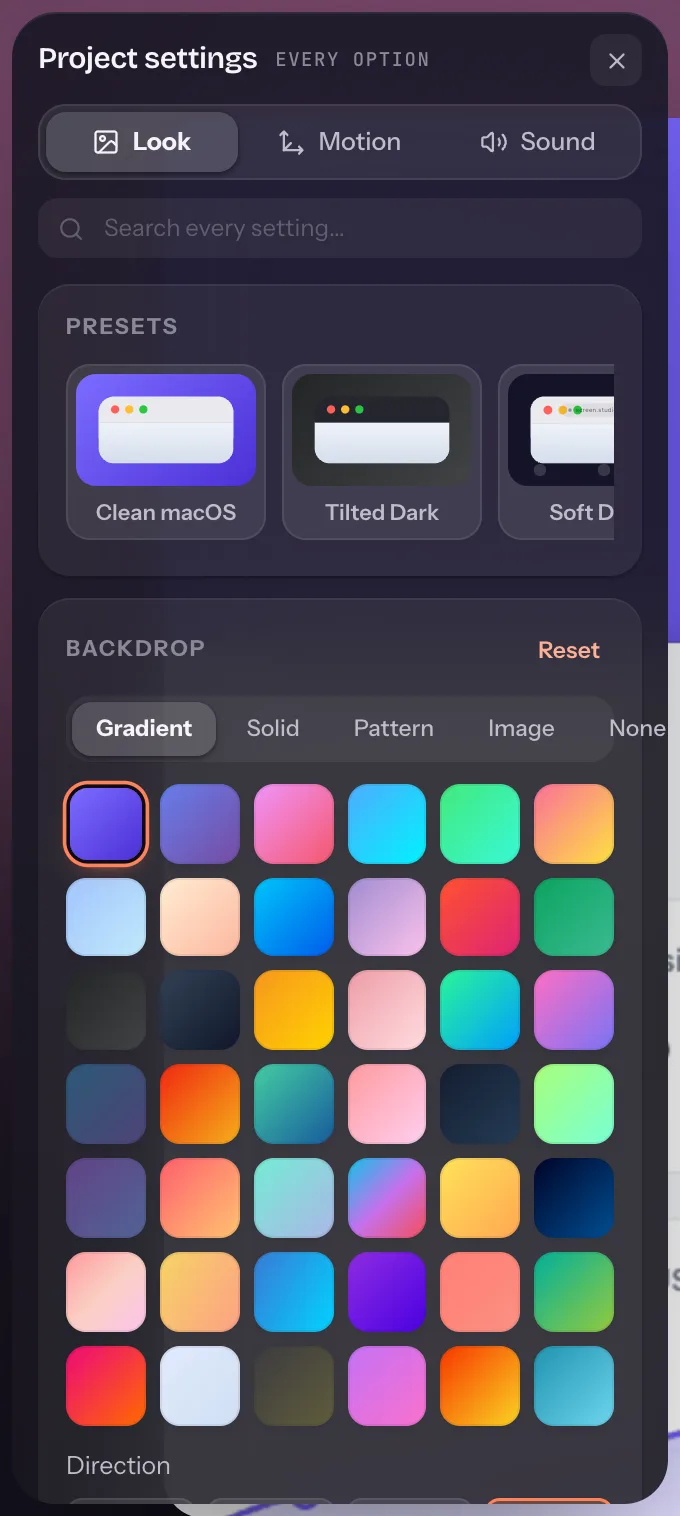
- Look, Motion, SoundLook holds everything visual. Motion and Sound only apply to videos.
- Search every settingType shadow, tilt or aspect to jump straight to a control.
- PresetsClean macOS, Tilted Dark, Soft Dots and Bold Sunset.
- Backdrop typeGradient, solid colour, pattern, your own image, or none.
2. Choose a backdrop
- Gradients are the safe default. There are 42, and each has an angle control and custom colours.
- Solid colours match a brand exactly — use your site's background so the image feels native.
- Patterns (dots, grid, waves and more) add texture behind minimal UIs.
- Image backdrops use any picture, such as a blurred photo or your brand illustration.
3. Frame it
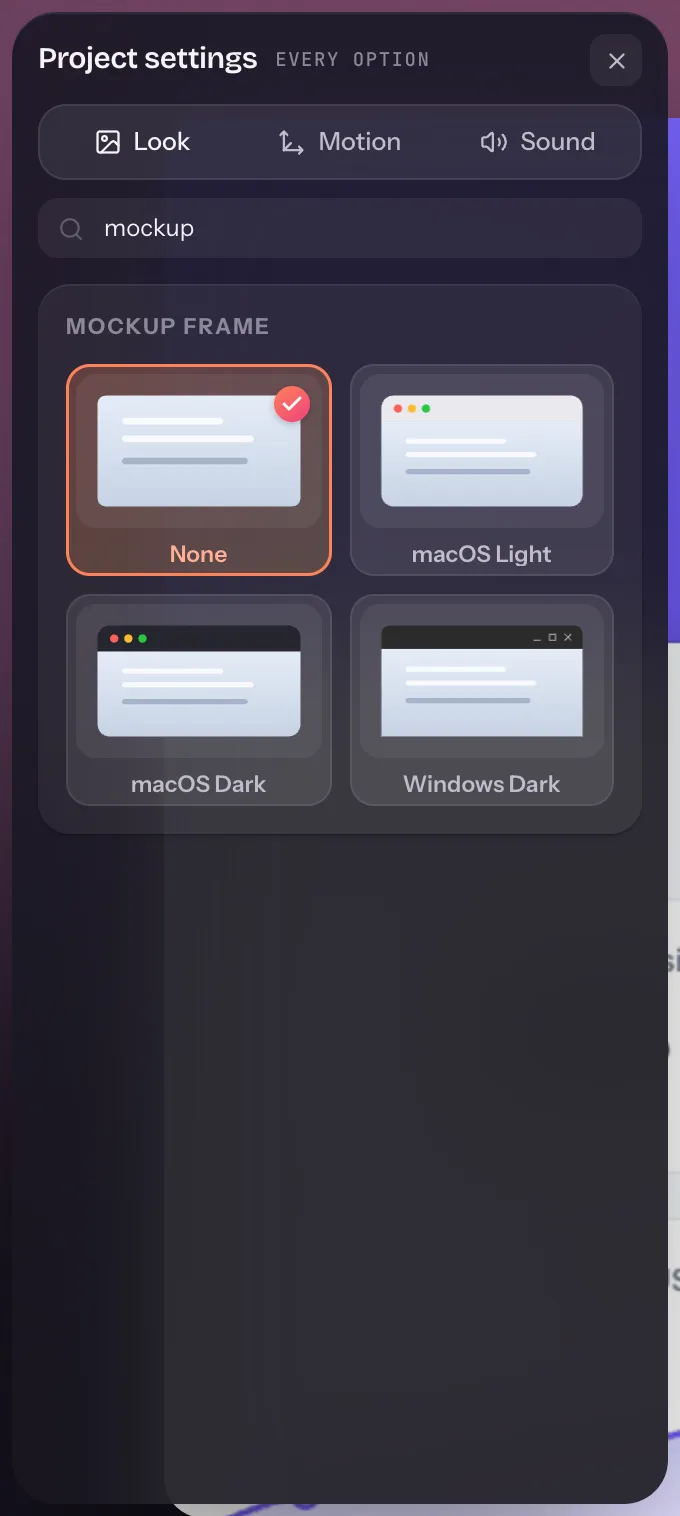
A window frame tells the viewer what they're looking at. The Mockup section offers macOS light and dark title bars and a Windows frame, with an editable address or title and optional window controls.
4. Padding, corners, shadow and tilt
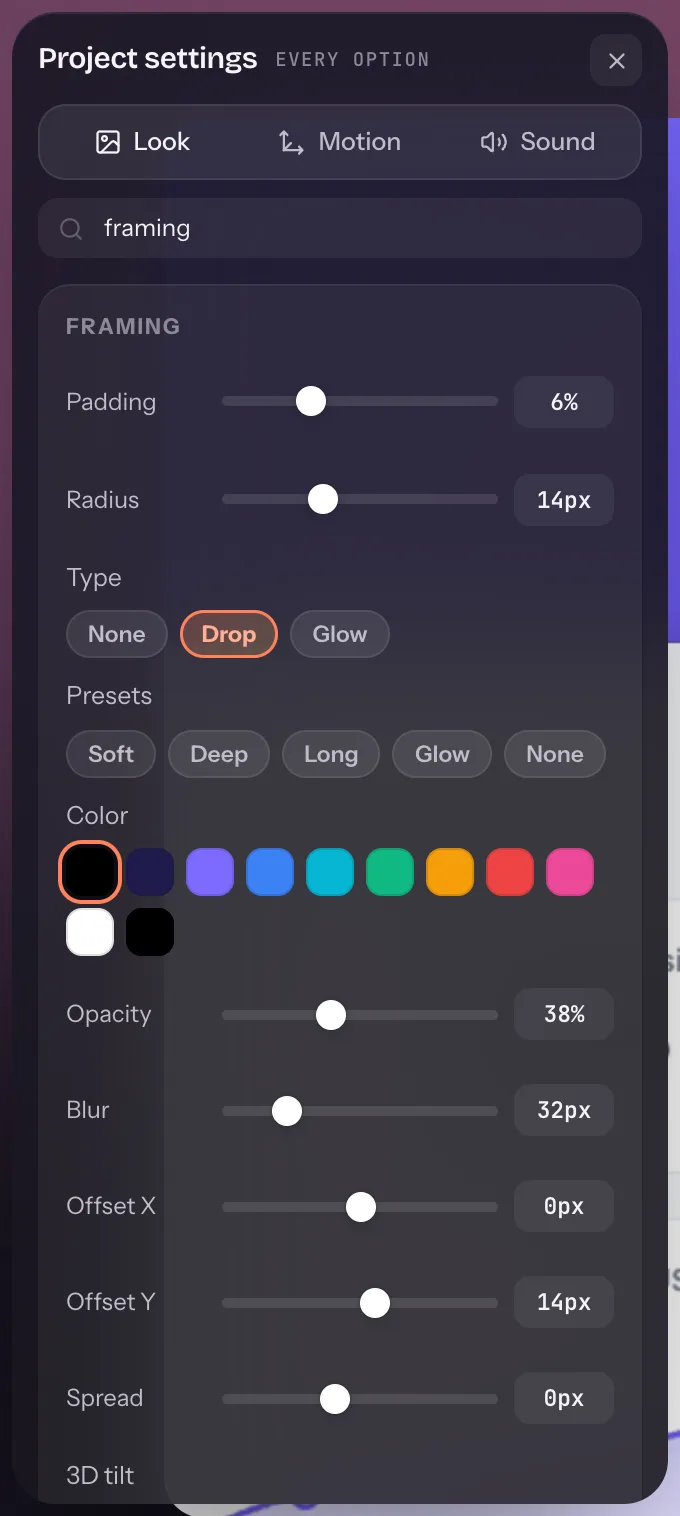
- PaddingHow much backdrop shows around the capture. 8–12% works for social posts.
- RadiusCorner rounding. Match your app's own window radius for a native look.
- 3D tiltDrag the joystick to angle the capture in perspective, with a matching shadow.
Shadows have their own controls: Drop or Glow, presets from Soft to Long, and fine-tuning for colour, opacity, blur, offset and spread. A long, low-opacity shadow is what makes a tilted screenshot look like it's floating.
5. Size it for where it's going
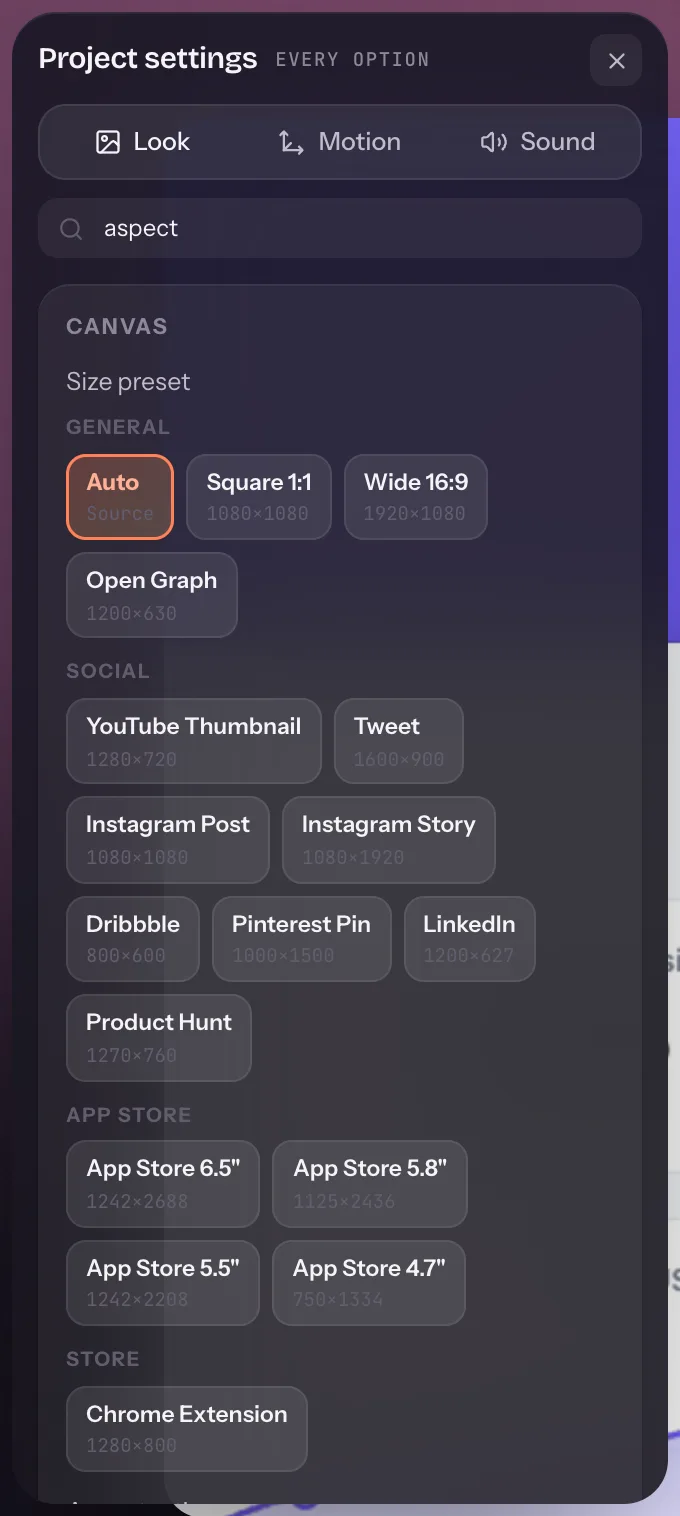
The Canvas section sets the output shape. Choose a size preset and the layout reflows around it, so you don't crop by eye.
| Destination | Preset | Size |
|---|---|---|
| Link previews and blog headers | Open Graph | 1200 × 630 |
| X / Twitter posts | Tweet | 1600 × 900 |
| Instagram feed | Instagram Post | 1080 × 1080 |
| Dribbble shots | Dribbble | 800 × 600 |
| Launch day | Product Hunt | 1270 × 760 |
| Chrome Web Store listing | Chrome Extension | 1280 × 800 |
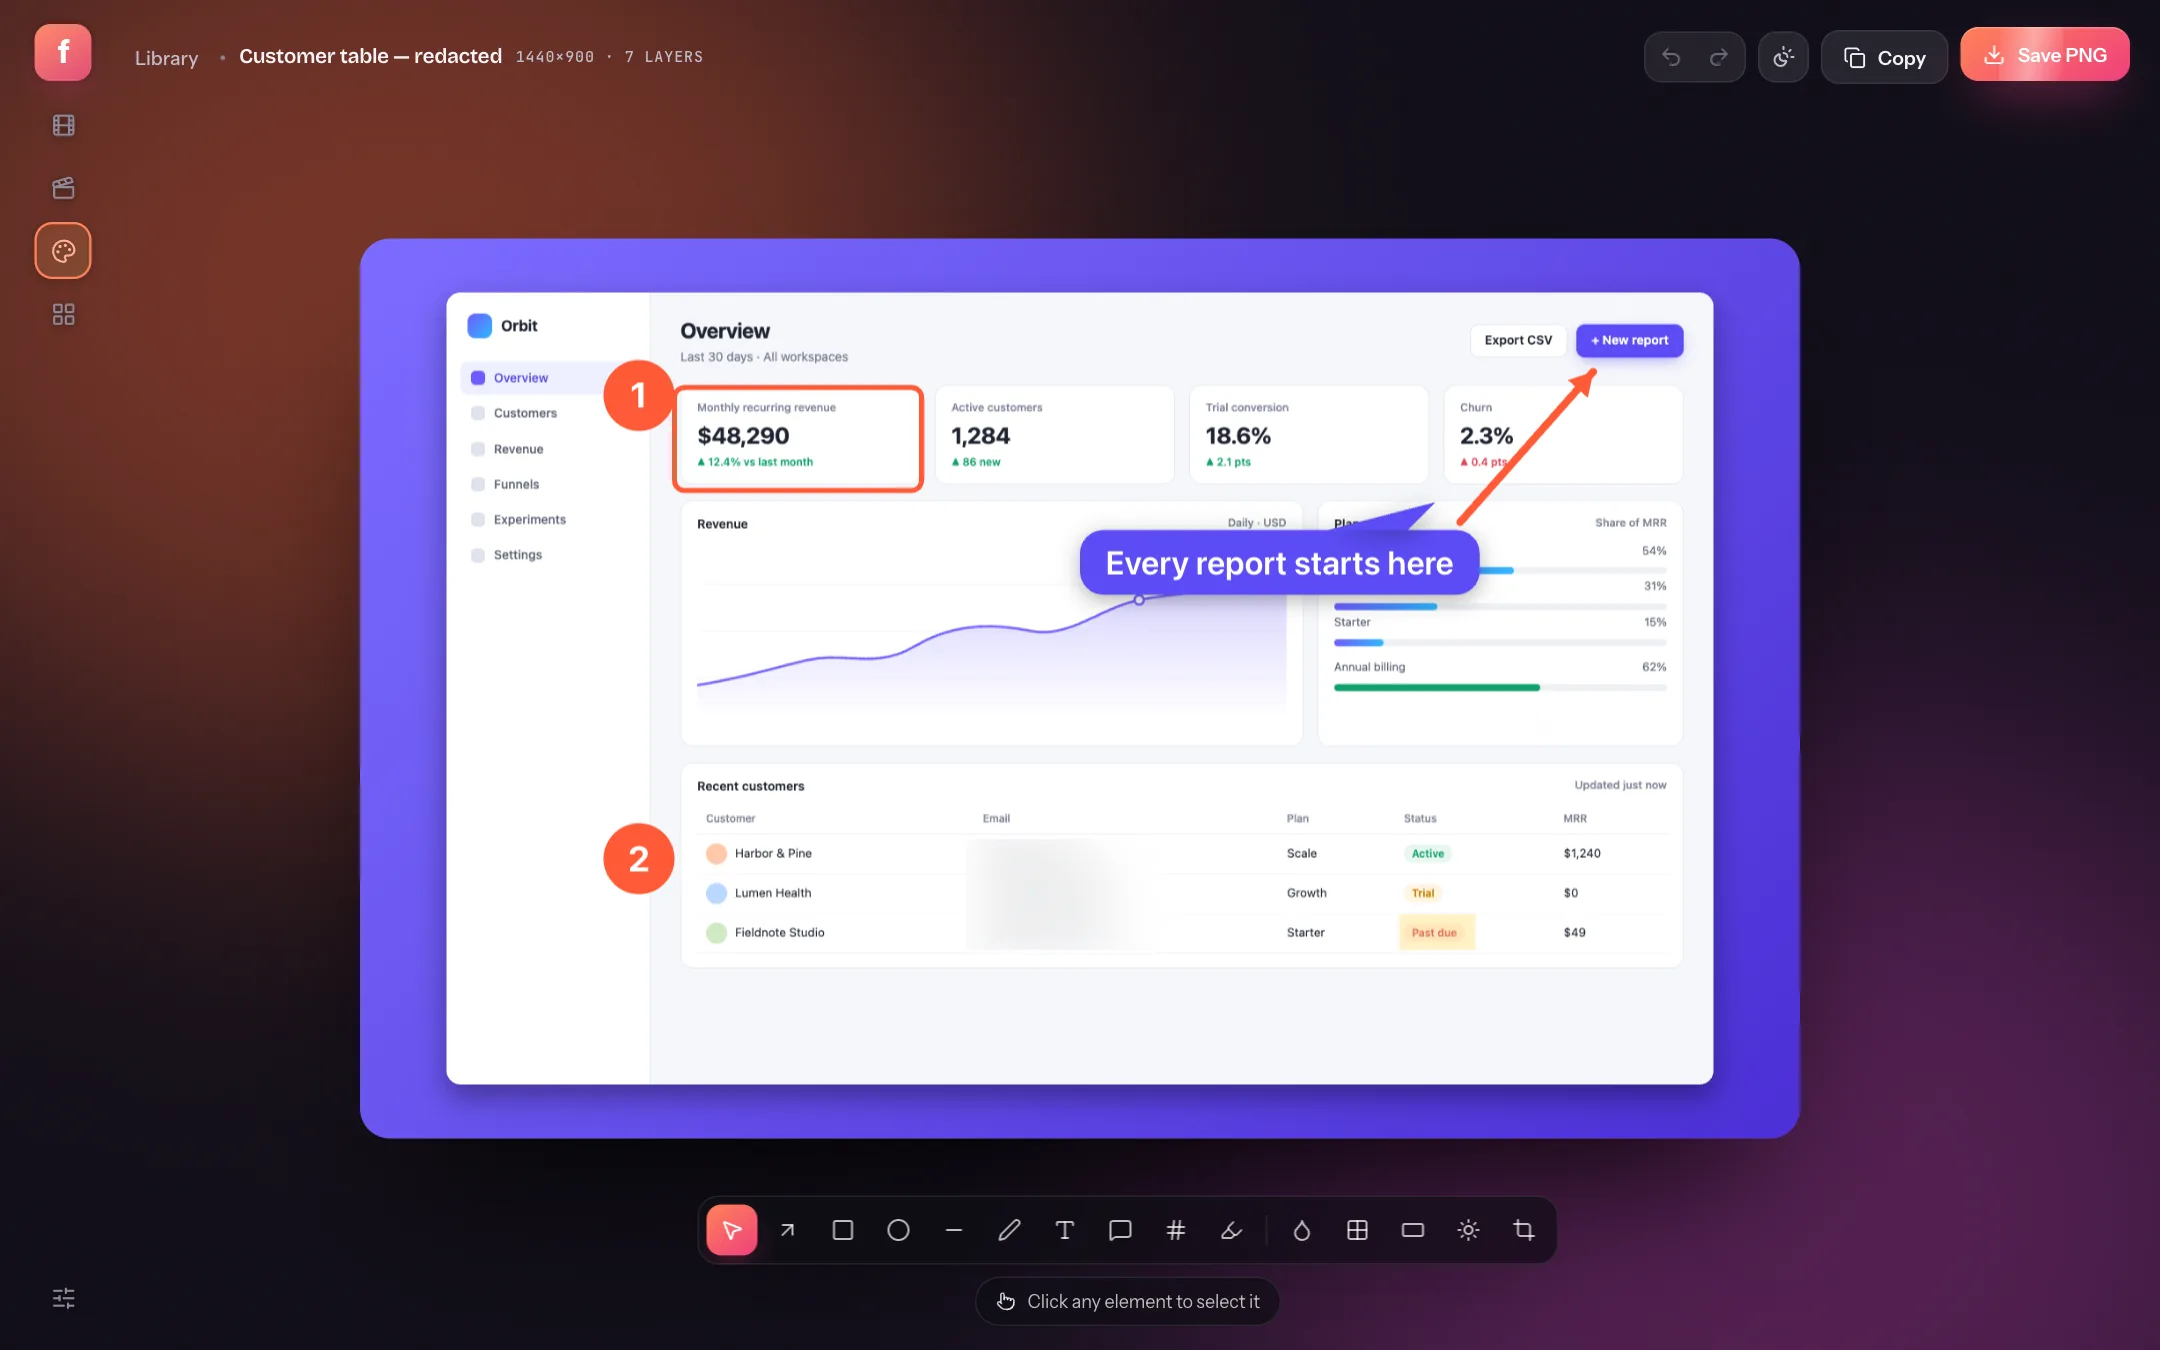
Want to point at something first? Annotate the screenshot with arrows and callouts before styling it — annotations are drawn inside the frame and tilt with it.
Screenshot mockups: quick answers
How do I add a background to a screenshot?
Open the screenshot in Flicka, press Tab to open the settings, and pick a gradient, solid colour or image under Backdrop. The canvas updates live.
Can I use the same look on a screen recording?
Yes. The video editor has the same Look panel, so recordings and screenshots can share a backdrop, frame and shadow.
What size should a screenshot be for Twitter?
Use the Tweet preset at 1600 × 900 (16:9). It displays uncropped in the timeline on desktop and mobile.